


Ethernet-DK
Rev. 0.6 9
6. Embedded Ethernet Tutorial
Now that the Embedded Ethernet Development Kit hardware has been set up, the software installed, and the
embedded system connected to a network, it is time to download firmware into the MCU and test its network
connectivity. The Embedded Ethernet Tutorial consists of four stages of increasing functionality and will allow the
user to quickly learn how to use the development kit hardware and software.
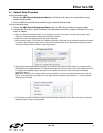
6.1. Stage 1—Basic Web Server
In the first demo stage, we will generate a “Hello World” web server with a single static web page using the TCP/IP
Configuration Wizard. We will learn how to PING the embedded web server and view the page in a web browser.
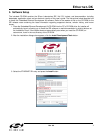
6.1.1. Generating a Project using the TCP/IP Configuration Wizard
The instructions below show how to generate a new project using the TCP/IP Configuration Wizard.
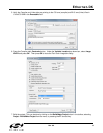
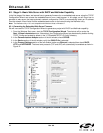
1. From the Windows Start menu, start the TCP/IP Configuration Wizard. The shortcut will be under the
StartSilicon Laboratories menu. Alternatively, the Configuration Wizard can be started by double-clicking
TCPIP_Config.exe located by default in the “C:\SiLabs\MCU\TCP-IP Config” directory.
2. In the Communications Adapter section of the left window, check CP2200.
3. In the Device section of the left window, verify that C8051F12x is selected.
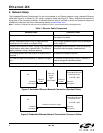
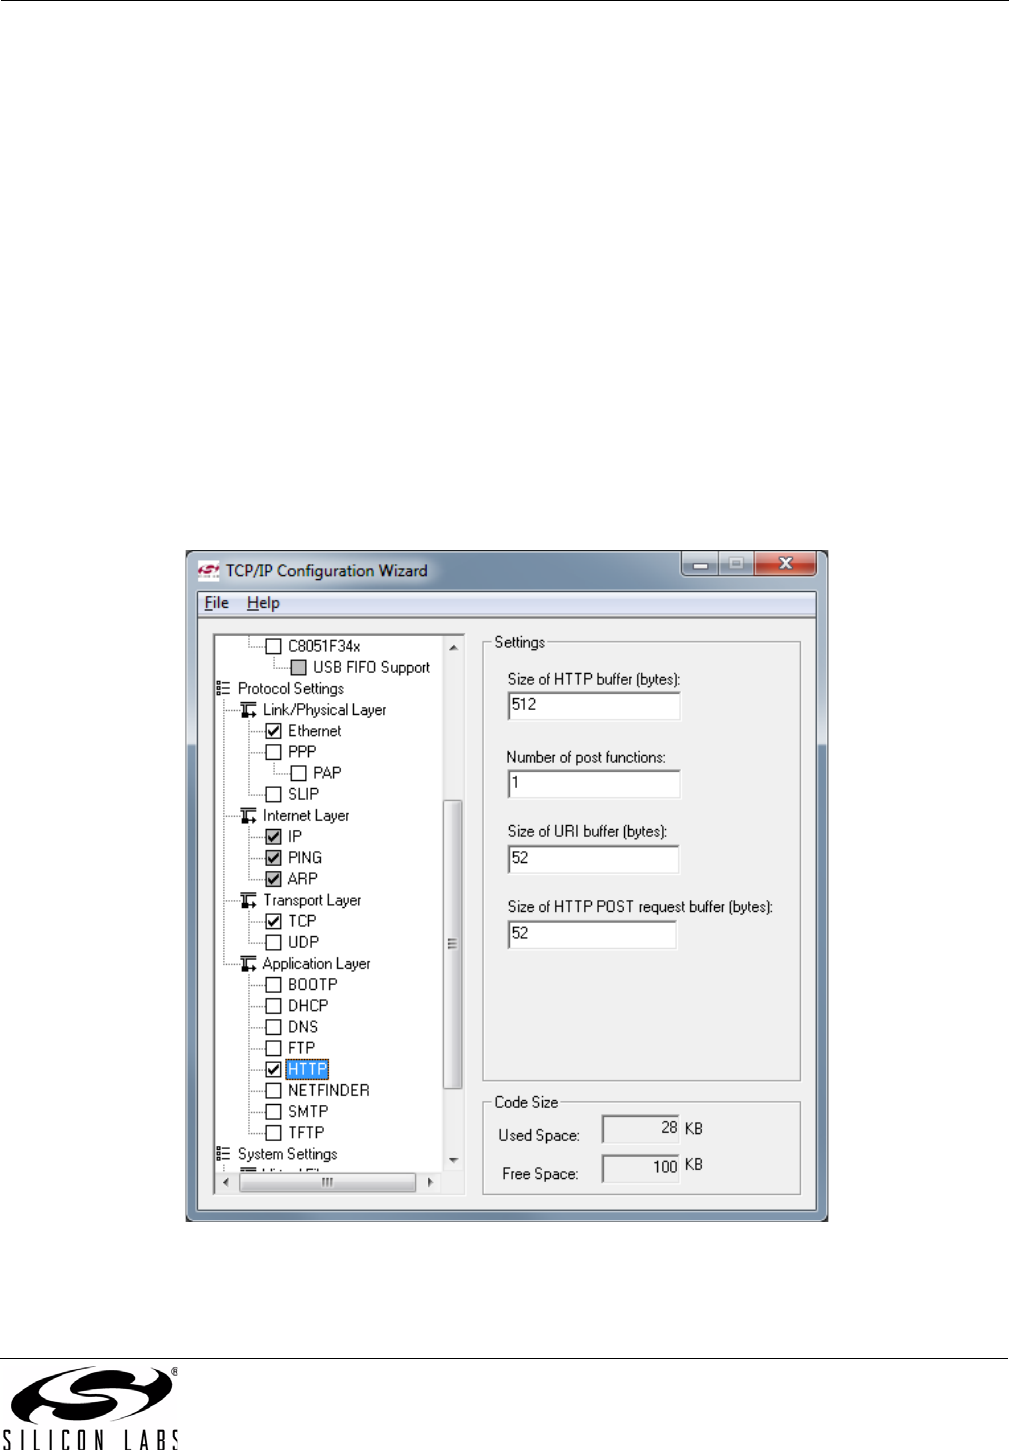
4. In the Protocol Settings section of the left window, make sure Ethernet is selected then check HTTP. The
lower level protocols required to run HTTP (e.g., TCP) will automatically be enabled (see Figure 7).
Figure 7. TCP/IP Configuration Wizard Protocol Selection