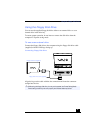
Using the DVD-ROM Drive
49
To remove the DVD-ROM drive (Windows Me only)
When the computer is off, skip steps 1 and 3.
1
Right-click the AC Power icon in the task tray and choose “Remove
multipurpose bay device [IDE].” The message screen appears.
2
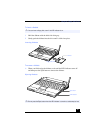
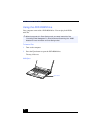
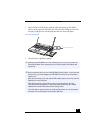
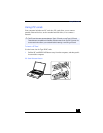
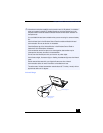
Slide the RELEASE lever on the bottom of the computer in the direction of
the arrow and slide the DVD-ROM drive out of the multipurpose bay.
3
Click OK on the message screen.
To remove the DVD-ROM drive (Windows 2000 models)
1
Double-click in the system task tray.
2
The “Unplug or Eject” dialog box appears.
3
In the Unplug or Eject Hardware dialog box, select the appropriate option,
and then click Stop.
4
Confirm the device and click OK.
5
A message appears informing you that the device can now be safely removed
from the system.
6
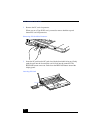
Slide the RELEASE lever on the bottom of the computer in the direction of
the arrow, and then unplug the DVD-ROM drive from the computer.
To insert the DVD drive
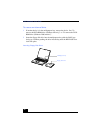
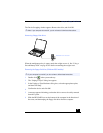
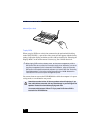
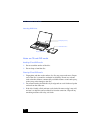
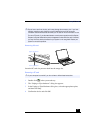
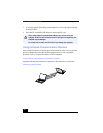
You do not need to shut down the computer to insert the DVD-ROM drive into
the multipurpose bay.
✍
Be sure to insert the weight saver into the multipurpose bay when the bay is empty.
See “To insert a second battery pack” on page 56 for details on inserting the weight
saver.
✍
If your computer is turned off, you do not have to follow these instructions.
✍
If your computer is turned off, you do not have to follow these instructions.
✍
Do not insert the floppy disk drive while the notebook is in power saving mode.


