Wiring Connections
Leftover Parts
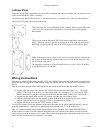
At this point, your robot is together and you’re probably wondering about those extra parts. They are used for Levels
2 and 3 of the SRS Robot. Here’s a summary.
The hardware bag should still contain four 1” standoffs and eight 1/4” machine screws. They are explained below.
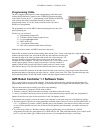
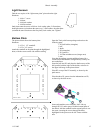
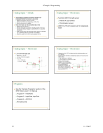
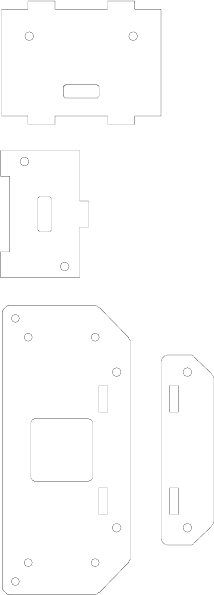
There will be five plastic chassis pieces remaining:
These two pieces are used to hold Sharp GP2D12 infrared distance sensors (part of the
Level 2 kit). They mount on the front corners of the chassis between the top and
bottom plates.
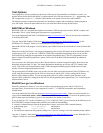
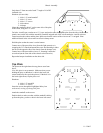
This piece can hold the Devantech SRF-04 Ultrasonic Rangefinder (sonar distance
sensor). It mounts with the single tab into a slot near the front of the top plate and the
double-tab side held in place by either of the following pieces (above the top plate).
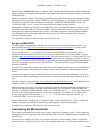
Either of these pieces can be used as a “cap” for the sonar plate. They are mounted to
the top plate via the remaining standoffs and screws (two sets for the small piece, all
four sets for the large piece).
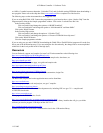
The larger piece can hold an LCD screen (part of the Level 2 kit). The LCD can also
be mounted directly to the top plate.
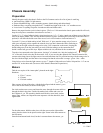
Wiring Connections
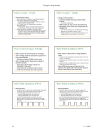
Plug the servo cables from the motors into the “LEFT” and “RIGHT” pins at the back of the board, using the row of
pins further from the edge of the board, with the orange wire aligned with the “W” and the brown wire aligned with
the “B.”
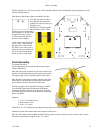
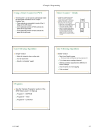
Plug the wires from the light sensors and bumpers into the sockets on the front of the ARC board as follows:
• Plug the right light sensor wires into the “RF” sockets at the front of the board. There is a “1” identifying
position 1. The colors, from position 1 to 4 are orange, green, blue, and white. (If you are using the ARC
Board Connection Kit, plug the connector into the board so that the triangle (orange wire) is at position 1.)
• Plug the left light sensor wires into the “LF” sockets, using the same color order as above.
• Plug the right bumper wires into the “RIGHT” sockets at the front of the board. Plug the white wire into
position 1; plug the blue wire into position 2. (There is no connection to position 3.)
• Plug the left bumper wires into the “LEFT” sockets, as above.
You may find it useful to label the connectors at the end of the cables for the motors (and light sensors if you are
using the connection kit). A small piece of masking tape (not supplied) with “L” or “R” works well.
Place 6 AA batteries into the battery holder, flip the robot over, and fasten the velcro straps around the battery
holder to fasten it in place. Feed the connector through the slot in the top plate of the chassis, and plug it into the
power connection on the board (next to the switch). Be sure that the housing aligns with the three pins. The red wire
can be on either end; the black wire should be in the middle.
18 11-3-2005


