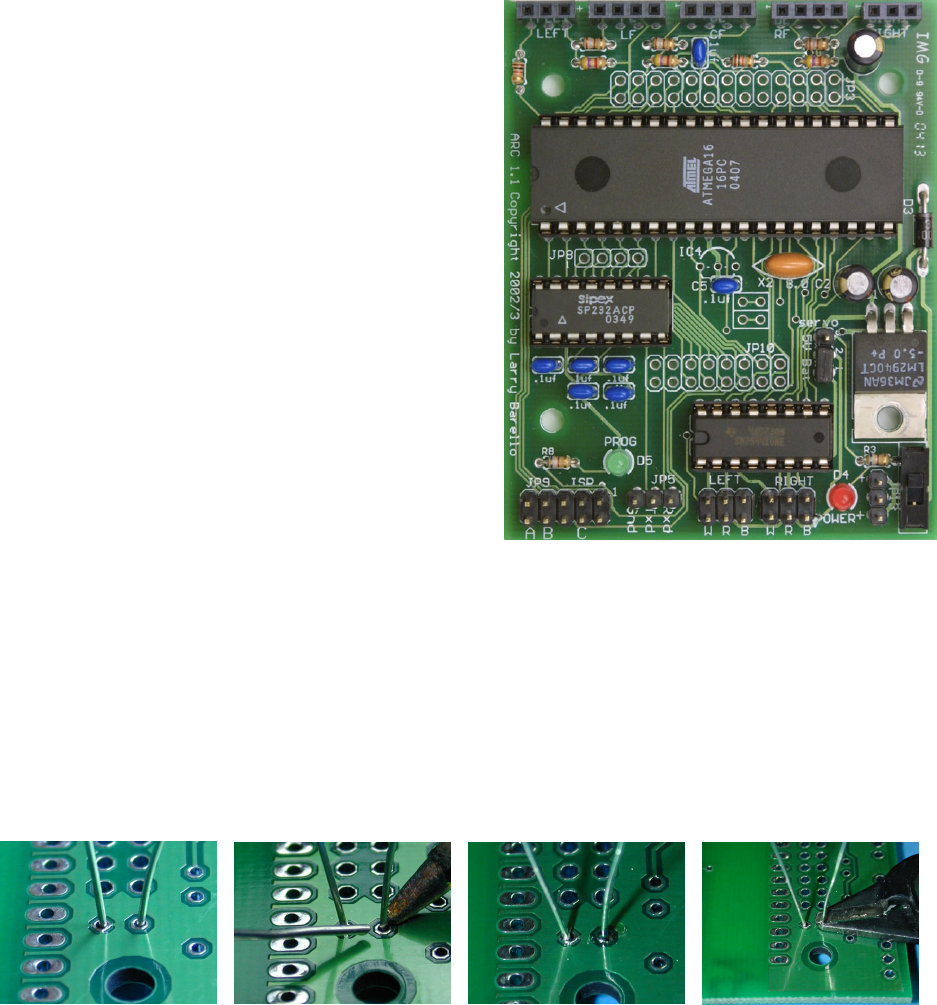
AVR Robot Controller 1.1 Assembly Instructions
AVR Robot Controller 1.1 Assembly Instructions
Preparation
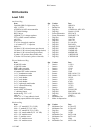
Identify the parts used in the AVR Robot Controller (ARC).
Refer to the Kit Contents section for a list of parts in each
bag.
• Anti-Static Bag: everything except the QRB1134 light
sensors.
• Electro-Mechanical Bag: everything except the velcro,
mounting squares, shrink tubing, and rubber bands.
• Loose items: the battery holder, 4-conductor cable, and
ribbon cable.
It is recommended that you return unused items to their
original locations so that you can find them later!
Soldering Overview
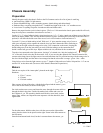
The ARC can be assembled using a fine tip 25-40wt
soldering iron, thin 60:40 rosin core solder, flush side
cutters and a pair of small needle nose pliers. Additional
items that are useful are a solder tip cleaner (damp sponge
or cloth), paste solder flux and a small gauge wire stripper
(18-26). Because it is fairly small you need a well-lighted
area to work in. A magnifying glass might be useful for
inspecting solder joints.
The side cutters are used to trim component leads flush to the board after soldering them. With a little practice the
side cutters can be used to strip wire as well: the trick is to cut into the insulation, but not the wire, and then pull the
end off.
The key to obtaining a good solder joint is to get everything hot enough so that the solder “wets” the surface and
wicks into the spaces between the wire and what you are soldering it to. First clean the iron tip by wiping it across a
damp sponge. Then tin the tip with a bit of fresh solder. Then place the tip against the pin and the solder pad, i.e.
wedging it in the corner of the two. Then touch the solder to the pin or the board near to the tip. Usually it takes just
a fraction of a second to get the joint hot enough to melt the solder. Then leave the tip on the joint for a couple
seconds more until the solder visibly wicks into the hole. If the hole looks empty you can put another touch of solder
on. When done, snip the excess lead material off flush to the bottom of the board. Usually cleaning and tinning the
tip is needed only between rounds of soldering or after soldering 20-30 joints in a row.
You need a workspace as well. The ARC uses static-sensitive components and you need to exercise care while
assembling it. The best is an anti-static mat with a wrist strap and grounding it to the same ground as the soldering
iron uses. An alternative is to work on a bare wooden surface. Wood neither conducts nor accumulates static
electricity. Sometimes you can obtain a sheet of conductive foam and work on that. Keep it grounded through a
large resistor (e.g.1-2 meg ohms) and make sure some exposed skin touches the surface before you pick up static
sensitive parts (anything that looks like an IC). Once the board is assembled and the IC’s inserted, it is much less
sensitive to static discharge.
11-3-2005 5


