Chapter 1 Unpacking and Installing the Server 11
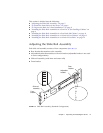
a. Loosen the four nuts that secure the rear bracket.
b. Reposition the rear bracket to the location marked “Sun Fire Cabinet” on the
slide rail assembly and secure the rear bracket.
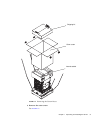
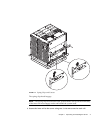
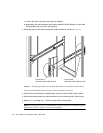
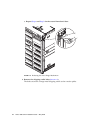
3. Insert the pins in the front bracket into cabinet holes 58 and 69 (
FIGURE 1-6).
The pins hold the bracket in place until it is secured.
4. Secure the adjustable bracket into cabinet holes 60 and 67 with two No. 10-32 UNF
screws.
5. Secure the front bracket into cabinet holes 60 and 67 with two No. 10-32 UNF
screws.
6. Repeat Step 1 through Step 5 for the second slide rail assembly.
Installing the Slide Rail Assemblies in a Sun Rack
900 Cabinet
Sun Rack 900 cabinets have M-6 UNF tapped screw holes in the front and rear that
are numbered from bottom to top.
Note – The slide rail assemblies are reversible. They can be used on either side of
the cabinet.
1. Remove the adjustable bracket on each rail.
a. Loosen the two nuts that secure the adjustable bracket.
b. Discard the adjustable bracket.
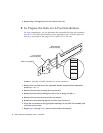
2. Adjust the length of each slide rail assembly.
a. Loosen the four nuts that secure the rear bracket.
b. Reposition the rear bracket to the location marked “NGR Cabinet” on the slide
rail assembly and secure the rear bracket.
▼ To Install the Slide Rail Assemblies in the Bottom Position
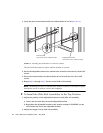
1. Remove the adjustable bracket on each rail.
a. Loosen the two nuts that secure the adjustable bracket.
b. Discard the adjustable bracket.
2. Adjust the length of each slide rail assembly.


