54 Sun StorEdge 5210 NAS Quick Reference Manual • November 2004
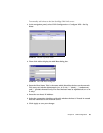
8. Select the Update Groups checkbox to update group information.
9. Select the Update Netgroups checkbox to update net group information.
10. Click Apply to save your changes.
Setting Up NIS+
Network Information Service Plus (NIS+) was designed to replace NIS, and is the
new default naming service for Solaris OS. NIS+ provides limited support to NIS
clients, but mainly addresses problems that NIS cannot address.
Note – There is no relation between NIS+ and NIS. The commands and the overall
structure of NIS+ are different from NIS.
To set up NIS+:
1. For the Sun StorEdge 5210 NAS to function correctly in an NIS+ environment, you
must add the Sun StorEdge 5210 NAS server to the host credential file on the
NIS+ server. At your NIS+ server:
a. Log in as root.
b. Enter the following command:
nisaddcred –p unix.SERVER.@DOMAIN -P SERVER.DOMAIN. des
where SERVER is the name of the Sun StorEdge 5210 NAS server, and DOMAIN is
the name of the NIS+ domain that the Sun StorEdge 5210 NAS is joining.
Note – You must add a period to the end of the domain name only after the -P
argument.
For example, if the Sun StorEdge 5210 NAS is named SS2, and its NIS+ domain is
sun.com, enter the following command:
nisaddcred –p unix.ss2@sun.com –P ss2.sun.com. des
c. You are prompted for a password. This password is also used later in this
procedure for configuring the Sun StorEdge 5210 NAS to use NIS+. Enter the
password.
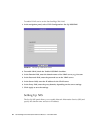
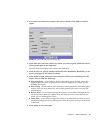
2. From a remote workstation, open a Web browser window to the Sun StorEdge
5210 NAS server and log into Web Administrator.


