1
2
3
4
5
6
7
8
9
10
11
12
6-29
If the chart is not properly placed, the following message
appears:
Set chart correctly
Go back to step 6 and place the chart again.
7
Press the START key.
- When the message “READY” appears, the entire operation
is completed.
6
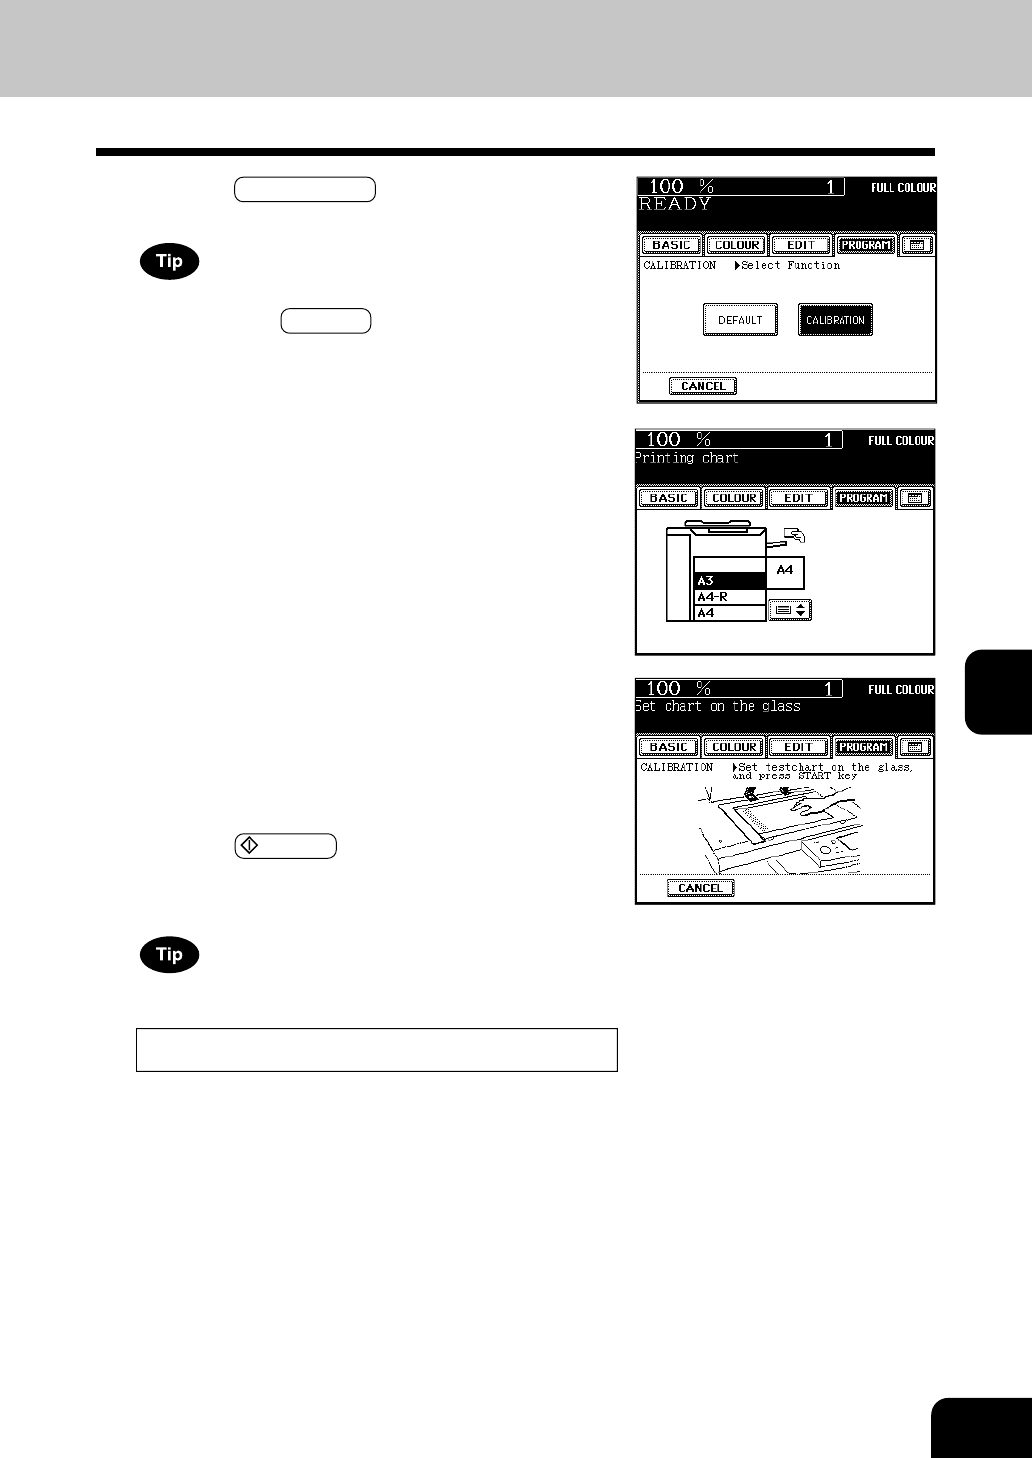
When the display on the right appears, place the
chart face down on the glass and with its bottom
toward you and its top left aligned against the origi-
nal scale on the left side, in order that the black
line be placed at the left side.
5
The chart is printed out.
4
Press the CALIBRATION key.
If you want to return the image quality level to the default
setting, press the DEFAULT key.


