e-STUDIO281c/351c/451c
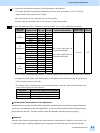
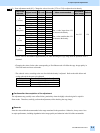
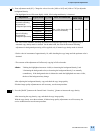
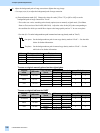
(2) Enter adjustment mode [05]. Change the values for codes [1688 to 1692] and [1698 to 1702] to adjust the
background density.
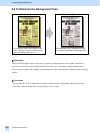
* The highlighted area will become highly visible, if the background density is increased.
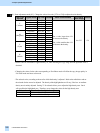
Adjustment Original mode [05] code Value recommended
Acceptable
value range
Default
Text/Photo 05-1688
Text 05-1689
Printed image 05-1690
Photo 05-1691
Automatic offsetting
adjustment for
background processing
Map 05-1692
Text/Photo 05-1698
Text 05-1699
Printed image 05-1700
Photo 05-1701
Manual offsetting
adjustment for
background processing
Map 05-1702
Set a value larger than 128
to increase the density.
0 to 255 128
* The value for the automatic offsetting adjustment for background processing will be applied, only if
automatic copy density mode is selected. On the other hand, the value for the manual offsetting
adjustment for background processing will be applied, only if manual copy density mode is selected.
* Set the value in increments of approximately 10, while checking the copy image until the optimum value is
obtained.
* The outcome of the adjustment will affect only copying in Full color mode.
<Note> "Making the highlighted area more visible (or increasing the background density)" and
"eliminating the background color (or decreasing the background density)" are mutually
contradictory. If the background color is darkened to make the highlighted area more visible,
the hue of the background may change.
After adjusting the background density, copy and check the copy image quality.
If further image quality adjustments are still necessary, use the next procedure.
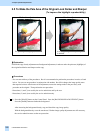
(3) Press the [BASIC] button on the Control Panel. Press the [ ] button to increase the copy density.
After increasing the copy density, copy and check the copy image quality.
With the copy density set to the maximum, if further image quality adjustments are still necessary, the
service technician must use the next procedure.
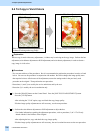
2. Copier-specific Adjustments
2.5


