User’s Manual EN-29
Using the dynadock™
Front Panel Audio Port (Microphone)
To connect a microphone, plug the 3.5 mm mono microphone jack into the
microphone input port.
Front Panel Audio Port (Headphones or Speakers)
After installing the provided audio software, a USB 3D 106 Sound
Configuration utility is installed in your computer. It can be accessed by
double-clicking the USB 3D 106 Sound Configuration icon on the system
tray.
(Sample Image) USB 3D 106 Sound Configuration
The utility comes with a friendly graphic user interface to optimize your
audio effects. Most of the settings can be adjusted using the available
sliders, images or buttons. Just make the adjustments to suit your personal
preferences.
Using Virtual 7.1CH Function on 2CH Speakers/headphones
The audio output port on the front panel is used to connect stereo speakers
or headphones. Although 2CH speakers may be connected, a virtual 7.1CH
surround sound experience is possible using the software’s virtual multi-
channel function.
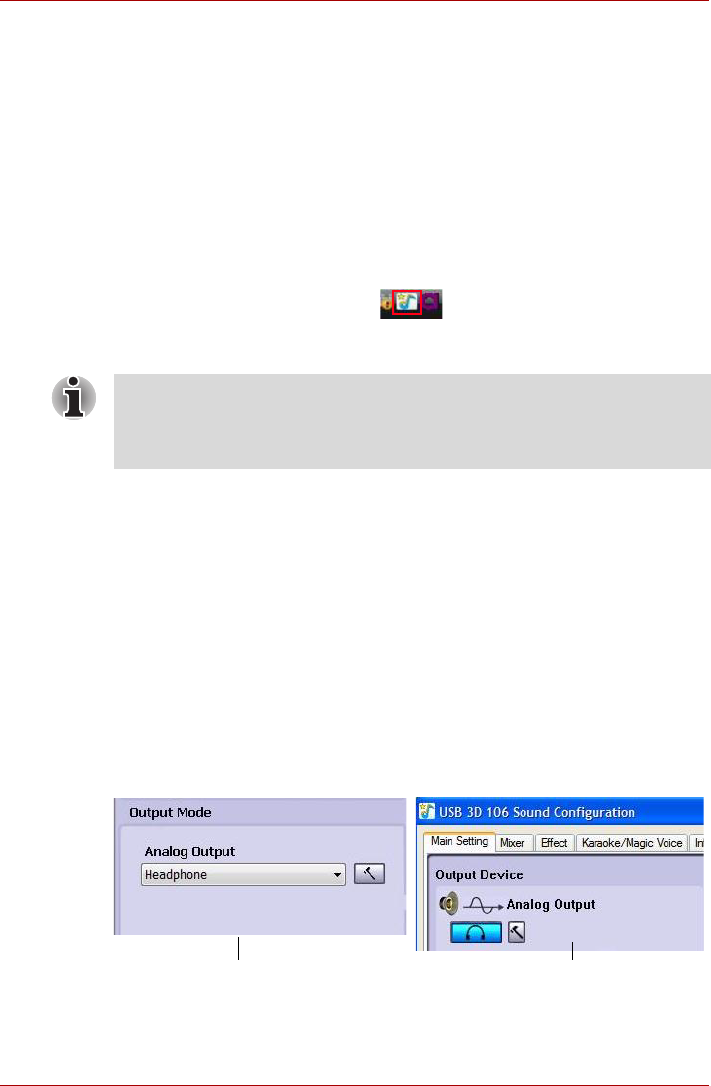
To enable the virtual 7.1CH audio function on 2CH speakers or
headphones:
1. In the Analog Output section, select headphone (or the headphone
icon in Windows
®
XP).
(Sample Image) Select headphone
NOTE: If the audio software has been properly installed and the icon is not
on the system tray, it means the dynadock is connected to a different USB
port from the one originally connected for installation. Re-plug the
dynadock into the original USB port and the icon will appear again.
Windows Vista
®
Windows
®
XP


