


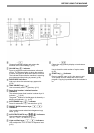
COPY FUNCTIONS
19
2
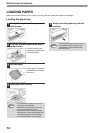
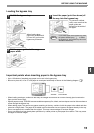
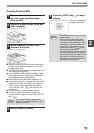
Copying from the ADF
1
Make sure that an original has not
been left on the document glass.
Close the ADF.
2
Adjust the original guides to the size
of the original(s).
3
Set the original(s) face up in the
document feeder tray.
● Insert the original into the document feeder tray as
far as it will go. When the original is set, the ADF
indicator will light up.
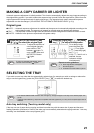
● The ORIGINAL SIZE indicator corresponding to the
size of the original lights up.
● If the ORIGINAL SIZE indicator is blinking, rotate
the original so that it is in the same orientation as
the blinking ORIGINAL SIZE indicator.
● Make sure that the PAPER SIZE indicator is lit.
● If the indicator is not lit, no tray has the same size of
paper as the original. Load paper of the required
size in a tray, or select the bypass tray with the
[TRAY SELECT] key ( ) and copy from the
bypass tray.
● The bypass tray must be manually selected.
● To copy on paper of a different size than the
original, select the paper with the [TRAY SELECT]
key ( ).
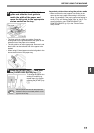
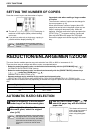
4
Set the number of copies.
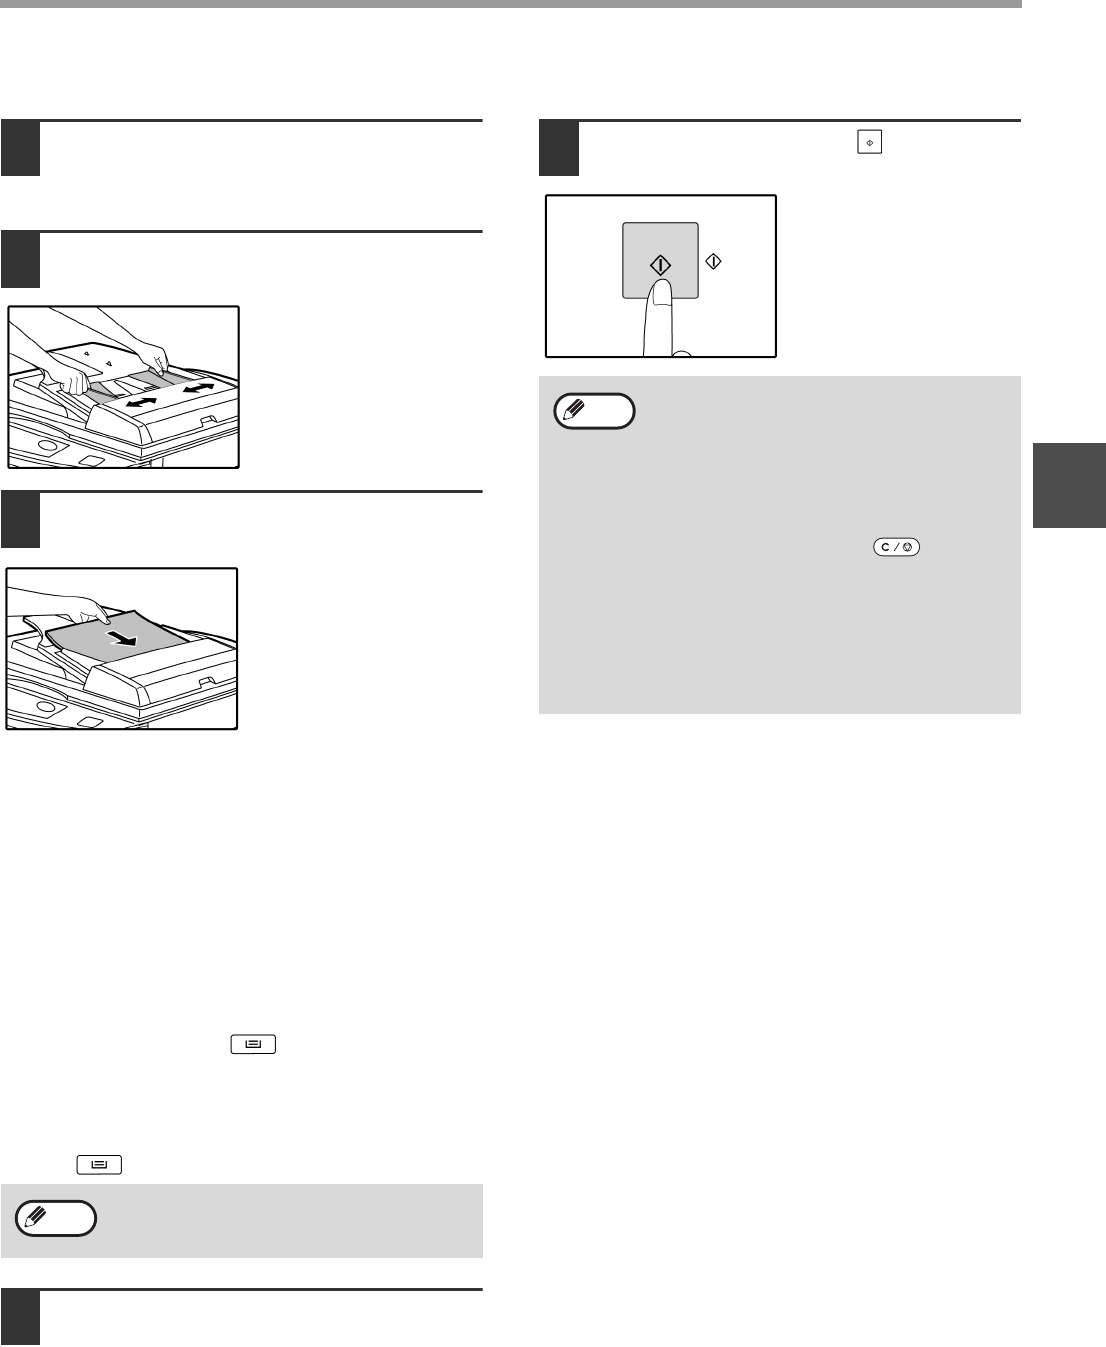
5
Press the [START] key ( ) to begin
copying.
The copy is delivered to
the paper output tray.
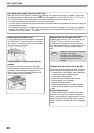
Do not place originals of different sizes
together in the document feeder tray. This
may cause misfeeds.
Note
• The paper output tray can hold up to 250
sheets of paper.
• About one minute after copying ends,
"Auto clear" activates and restores the
copy settings to the initial settings. (p.12)
The setting for "Auto clear" time can be
changed in the user programs. (p.33)
• Press the [CLEAR] key ( ) to stop
copying in the middle of a run.
• If you find it difficult to remove the original
from the document feeder tray, open the
feeding roller cover first and then remove
the original. If you remove the original
without opening the feeding roller cover,
the original may become dirty.
Note