


31
4
Chapter 4
USER SETTINGS
This chapter explains how to set the automatic exposure level, toner save mode/high image quality mode, and the
user programs, which are custom settings that control fine points of the machine’s operation.
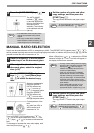
ADJUSTING THE AUTOMATIC
EXPOSURE LEVEL
The exposure level used in automatic exposure adjustment, which automatically adjusts the copy exposure
according to the original, can be adjusted. If copies tend to be too dark or too light when automatic exposure
adjustment is used, follow the steps below to adjust the automatic exposure level.
The automatic exposure level can be adjusted separately for the document glass and the ADF.
1
To adjust the automatic exposure
level in the ADF, place the original in
the ADF. (p.19)
Make sure that the ADF indicator is lit.
2
Press the [AUTO/TEXT/PHOTO] key
( / / ) to select "PHOTO" ( ).
3
Hold down the [AUTO/TEXT/PHOTO]
key ( / / ) until the AUTO indicator
( ) blinks.
The exposure level
indicators show the
current setting.
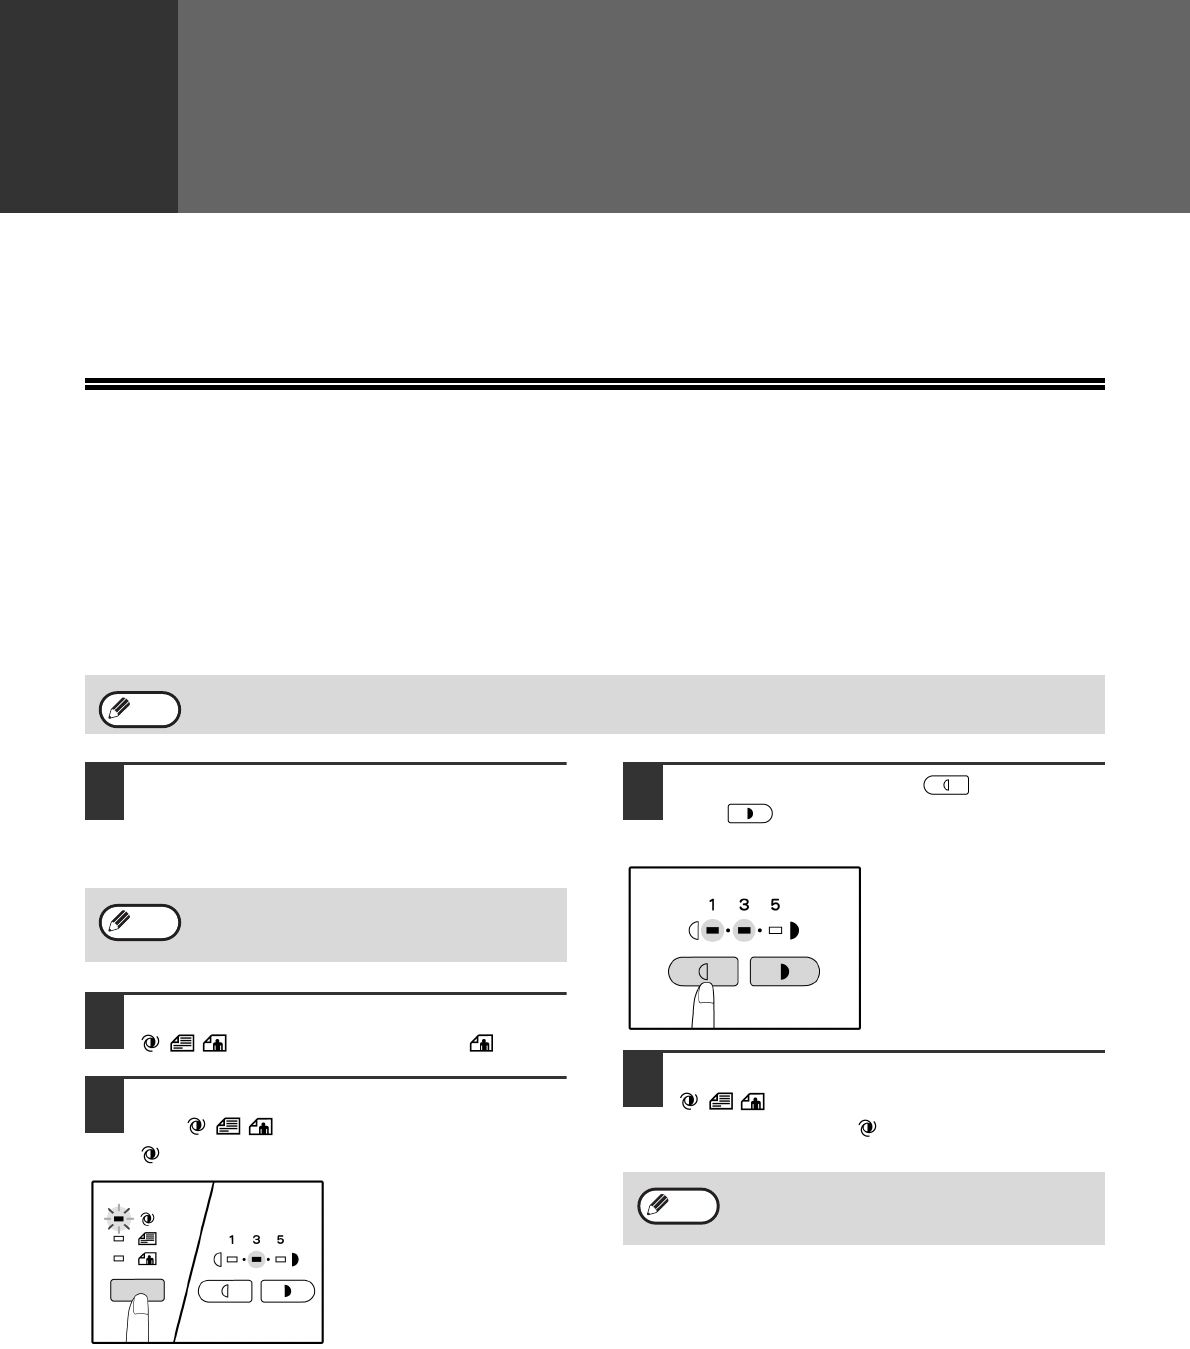
4
Press the [Light] key ( ) or [Dark]
key ( ) to lighten or darken the
automatic exposure level as desired.
5
Press the [AUTO/TEXT/PHOTO] key
( / / ) to complete the setting.
The AUTO indicator ( ) stops blinking and lights
steadily.
The copy and printer cannot be used while the automatic exposure level is being adjusted.
Note
To adjust the automatic exposure level for
copies made from originals placed on the
document glass, proceed to step 2.
Note
After adjusting the automatic exposure level,
it is recommended that you make a test
copy to check the new level.
Note