


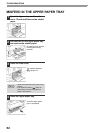
47
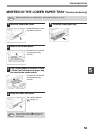
5
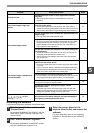
MISFEED REMOVAL
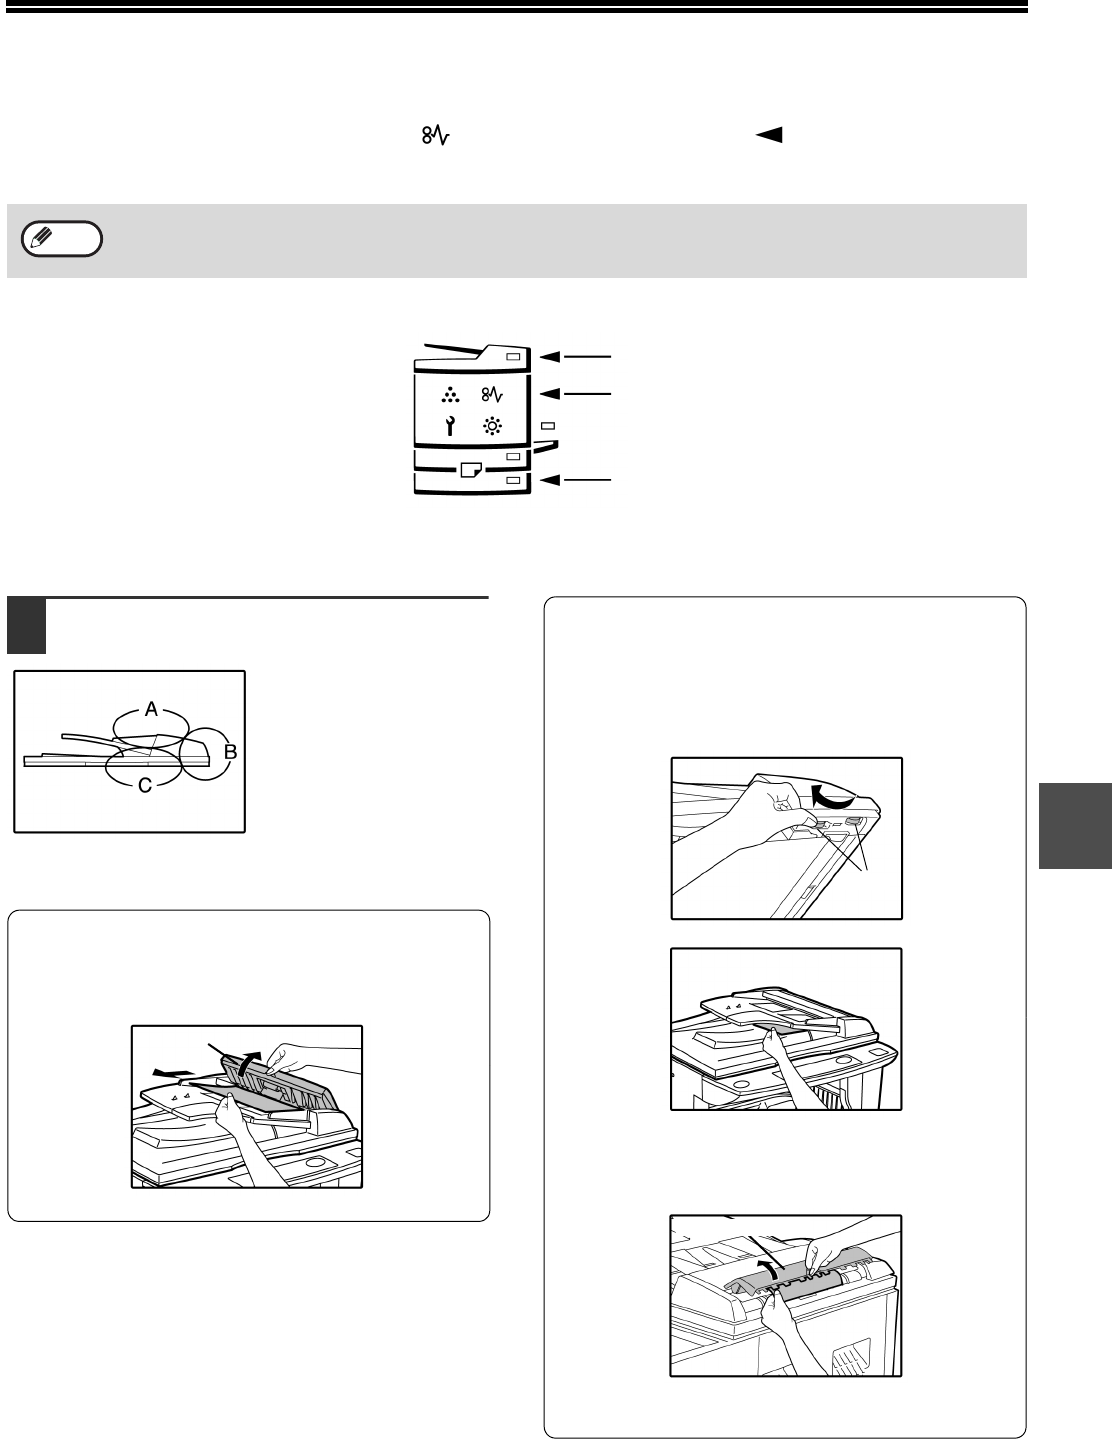
When a misfeed occurs, the misfeed indicator ( ) and a misfeed location indicator ( ) will blink and the machine
will automatically stop.
Check the blinking misfeed location indicator to identify the location of the misfeed and remove it.
MISFEED IN THE ADF
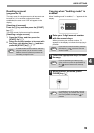
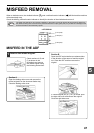
1
Remove the misfed original.
Check sections A, B, and
C (as shown in the
illustration) and remove
the misfed original using
the following instructions.
Section A
Open the feeding roller cover and remove the
misfed original from the document feeder tray.
Close the feeding roller cover.
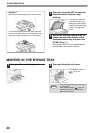
Section B
Open the ADF and rotate the two release rollers
in the direction of the arrow to feed the original
out. Close the ADF and then remove the
original.
If a small original (A5 (ST), etc.) is misfed, open
the right side cover and remove the original.
Close the right side cover.
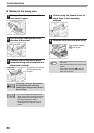
The paper may tear when you remove a misfeed. In this event, be sure to remove all torn pieces of paper from
the machine, taking care not to touch the photoconductive drum (the green part). Any scratches or damage to the
surface of the drum will cause dirty copies.
Note
e-STUDIO161
(p.47-p.48)
(p.48-p.51)
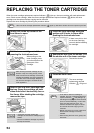
(p.52-p.53)
Feeding roller cover
Roller
Right side cover