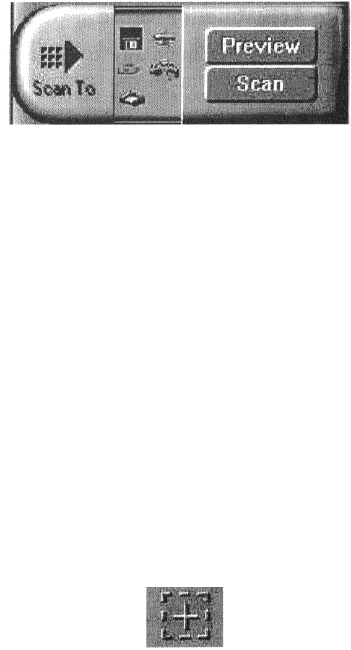
Selecting the Scan to Device or Application
To specify the device or application to which you want to send the scanned item:
1. Click the arrow above the Scan To text on the Scan Control Unit. The Scan Control Unit panel slides
back to display the Scan To icons.
Click on the icon that represents the device or application to which you want to send the scanned item. The
icons include:
File – stores the scanned image in a file using the file name specified in the VistaScan Preferences.
Print – prints the scanned item on the default printer.
Fax – faxes the scanned item using your fax driver.
Application – sends the scanned item to the applications specified in the VistaScan Preferences.
E-mail – sends the scanned item as a graphic file to your Microsoft Exchange or Lotus cc:Mail e-
mail application.
Using the Multiple Scan Mode
You can select multiple portions of the image you scanned in Preview mode using the Multiple Frame tool.
The Multiple Frame tool allows you to create two or more selection frames in the Preview Window.
To create more than one selection frame:
1. After you have scanned an image in Preview scan mode, click on the Multiple Frame tool.
2. Select the area you want contained in the first frame by clicking on the point at which you want to
begin the frame, and then dragging the tool diagonally until the area of interest is contained in the
marquis box.
3. Click outside of a selected area to save the frame. To create other frames, repeat steps 1 and 2 until
you have created all the desired frames.
4. After you create a frame, the Single Frame tool is automatically selected so you can resize or move the
frame you just created.
To select one of the frames you created, double-click on the desired frame. The frame border of the active
frame changes to a marquis style frame (dotted lines). Once a frame is selected, double-click on a frame to
display the Job Information window for that image, which contains the image information.
23
