


Page 3.3
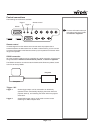
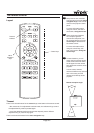
Selecting an input signal or test pattern
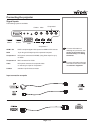
Input
Connect an video source to the projector. The signal should be automatically
detected by the projector, and should be displayed within a two or three
seconds.
If more than one signal is connected to the projector, then select which signal
is to be displayed, using the
to buttons on the remote control, or
by pressing the SOURCE button on the projector control panel until the correct
signal is displayed.
Test pattern
If you have no video source connected to the projector, then you can display a test
pattern as follows:
Press
on the remote control, until the desired test pattern is displayed.
1.
2.
Ɣ
Notes
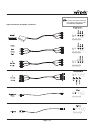
For more information about
connecting input signals, see
Signal Inputs, in section 2. of
the User Manual: Installation.
For more detailed information
about input connections, see
Input signals in section 6. of
the User Manual: Controlling
the projector.
For more information about lens
shift, see Shifting the image in
section 2. of the User Manual:
Installation.
,IWKHSURMHFWRULV¿WWHGZLWKWKH
¿[HGOHQVWKHQWKHUHDUH
no mechanical controls for lens
shift.
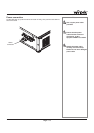
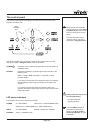
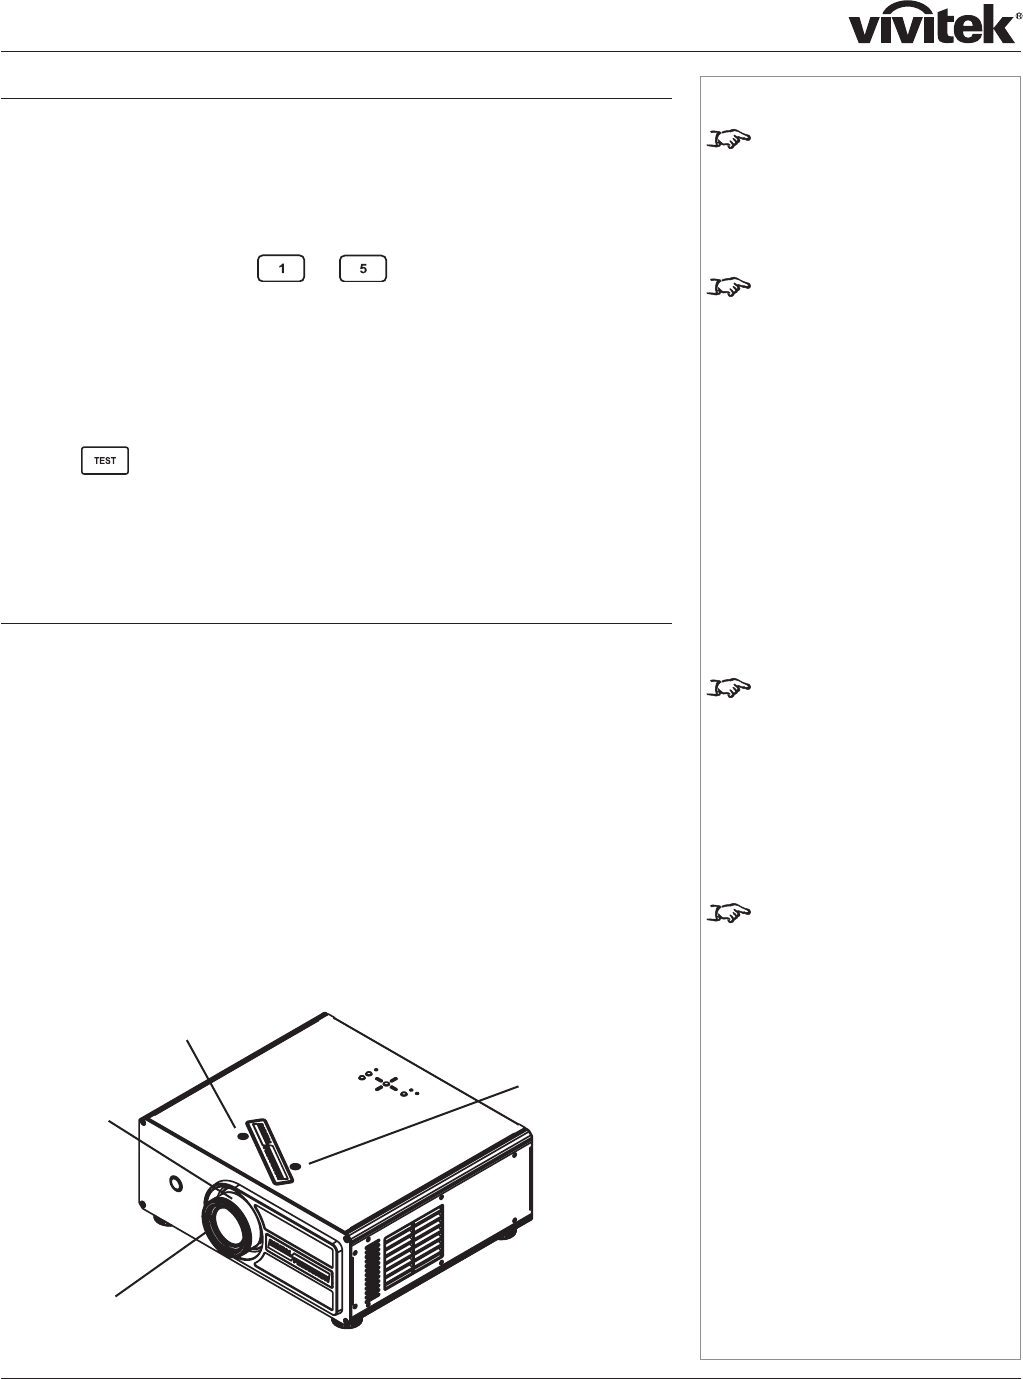
Adjusting the lens
Zoom
Turn the smooth ring on the lens, closest to the case, to adjust the zoom so that
WKHLPDJH¿OOVWKHVFUHHQ
Focus
Turn the knurled ring at the outer end of the lens, to adjust the focus until the
image is sharp.
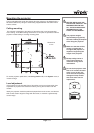
Shift
Rotate the D8300 badge on top of the projector to reveal the shift
adjustment access holes. Use the 5mm allen wrench to adjust the horizontal and
vertical position of the image.
Ɣ
Ɣ
Ɣ
Horizontal shift
adjustment
Vertical shift
adjustment
(Rotate the
badge)
Focus ring
Zoom ring