Apx-11
Appendices
E.3. Hook Bracket Mounting (MPC-20V Series Only)
The Hook Brackets allow MPC-20V series (vertical) units to be easily mounted in Dell™
style equipment racks. The Hook Brackets can be used to mount the MPC-20V in any
rack that includes Dell style mounting rails as shown in Figure E.5.
The Hook Brackets, which are supplied in a right and left hand pair, allow MPC-20V units
to be mounted to any one of the four corner posts in a Dell style equipment rack.
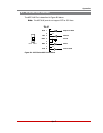
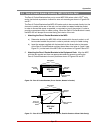
1. Attaching the Brackets to the MPC-20V: First determine which direction the
MPC will face after mounting, and then secure the Hook Brackets to the MPC-20V
accordingly, using the screws provided.
a) The Hook Brackets can be attached to the back or side of the unit, and the unit
can also be installed to face the front, rear, or either side of the equipment rack.
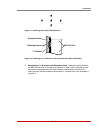
b) Each end of the MPC features seven screw holes for attaching the brackets,
this allows you to mount the brackets on either side of the unit, and in one of
two possible positions on the back. When mounting the brackets on the back
of the unit, use screw holes 1 and 2 or 2 and 3 as shown in Figure E.1.
c) Use two screws (supplied with the bracket) to secure one bracket to the top of
the MPC-20V and the second bracket to the bottom of the MPC-20V.
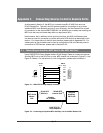
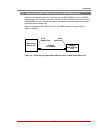
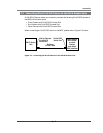
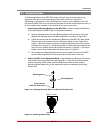
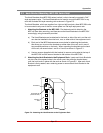
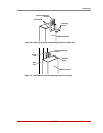
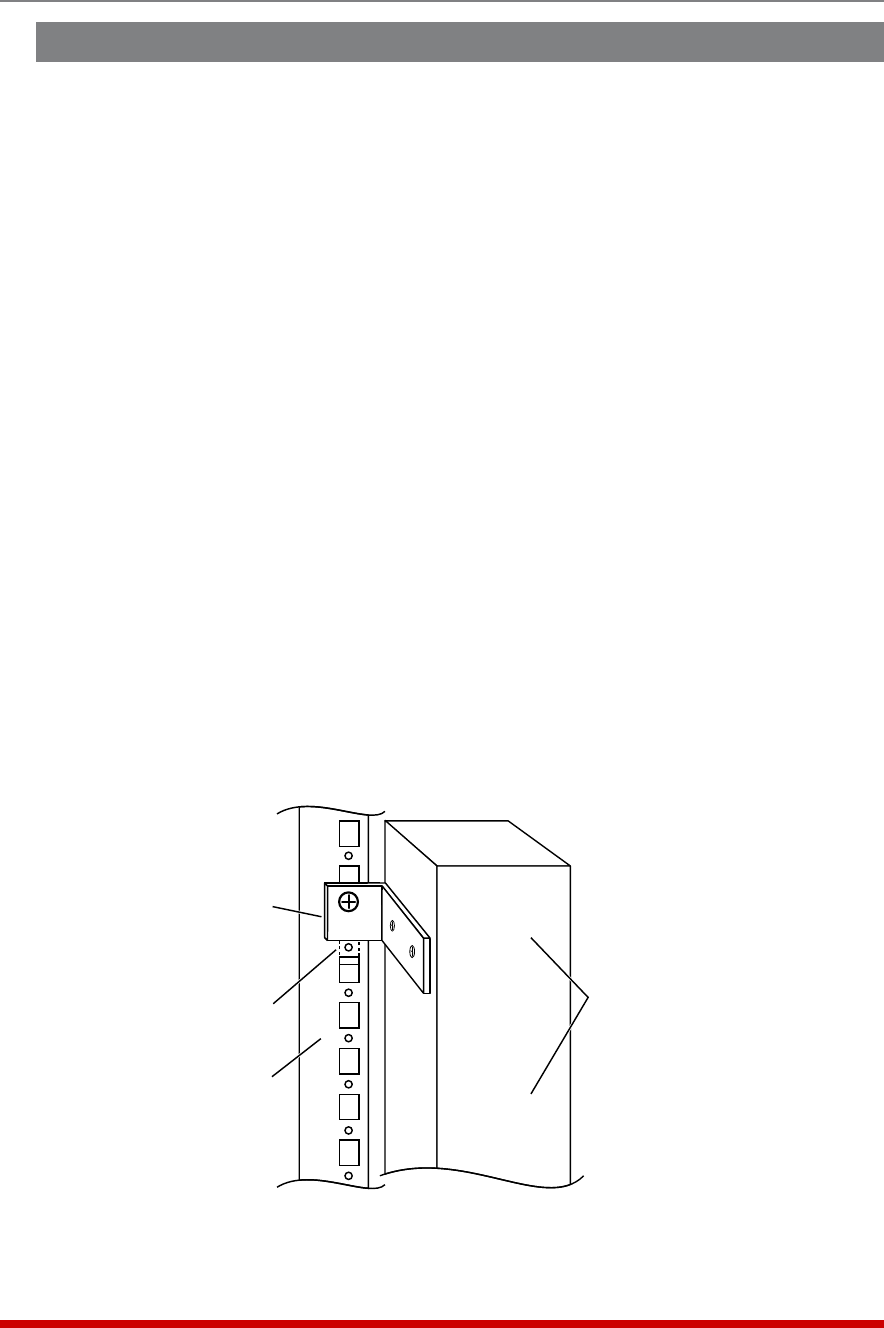
2. Attaching the Hook Brackets to the Equipment Rack: Insert each Hook Bracket's
tab into one of the square holes in the corner post, then slide the bracket down
until the hook locks in place with the rack as shown in Figure E.5. After each Hook
Bracket is firmly seated, use a retaining screw to secure each Hook Bracket to the
equipment rack.
Equipment
Rack
Hook Bracket Tab
(Hooked into Rack)
Hook Bracket
MPC-20V Unit
Figure E.5: Attaching the Hook Brackets to the Equipment Rack


