


Getting to Know the Extended WES Features 31
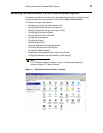
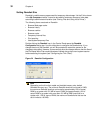
Configuring Touchscreens
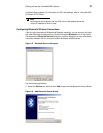
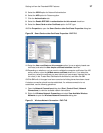
If the ELO Touchscreen option is installed on the thin client, double-clicking the ELO
Touchscreen icon in the User or Administrator Control Panel allows you to calibrate and
customize the settings for a touchscreen monitor that is connected to (or integrated with) a
thin client.
Note
Re-calibration and adjustment of the monitor settings may be required after
updating thin client software.
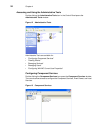
Configuring Printers
A universal print driver is installed on the thin client to support text-only printing to a
locally-connected printer. To print full text and graphics to a locally-connected printer,
install the driver provided by the manufacturer according to the instructions. Be sure to
flush the files of the File Based Write Filter cache to save the installation. For procedures
on flushing, refer to "Using the File Based Write Filter (FBWF)."
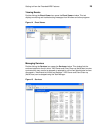
Printing to network printers from ICA and RDP applications can be achieved through print
drivers on the servers.
Note
Printing to a locally-connected printer from an ICA or RDP session using the
print drivers of the server produces full text and graphics functionality from
the printer. To do this, install the print driver on the server and the text only
driver on the thin client according to the procedures in
"Adding Printers."
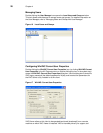
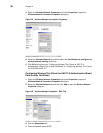
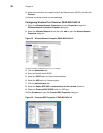
Adding Printers
To install the print driver on the server and the text only driver on the thin client:
1. Connect the printer to the thin client.
2. Click Start | Printers and Faxes to open the Printers and Faxes dialog box.
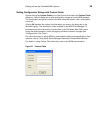
3. Click Add a printer to open the Add Printer Wizard, and then click Next.
4. Select Local printer attached to this computer, clear the Automatically detect and
install my Plug and Play printer check box, and then click Next.
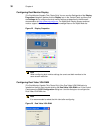
5. Select Use the following port, select the port from the list, and then click Next.
6. Select the manufacturer and model of the printer and click Next.
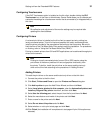
7. Enter a name for the printer and click Next.
8. Select Do not share this printer and click Next.
9. Select whether or not to print a test page and click Next.
10.Click Finish (the installation will complete and a test page will print if this option was
selected).