


2750 op#2 R3.doc 10-02 Page 2-14
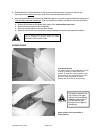
4. Open the lower clam shell and remove the document.
5. Close and lock
the lower clam shell, then reattach the crossfold section to the accordion folder.
6. Replace the hitch pin to lock the crossfold and accordion fold sections, then lower and lock the upper
section of the crossfolder, and replace the rear cover.
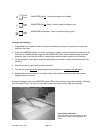
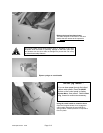
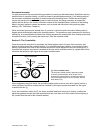
CROSSFOLD TRANSFER
NOTE: It is normally not necessary to remove the cover from the upper section of the crossfolder. This is
for service access only.
Press the two crossfolder latches, then raise the upper crossfold section. Observe the safety
precaution. Remove the document, then close and lock the upper section.
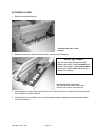
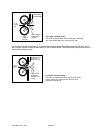
CROSSFOLD POCKET and CROSSFOLD EXIT
1. Open the upper crossfold section.
2. Remove the rear panel.
3. If the fold packet is caught in the upper nip rolls, and enough of it is exposed, grasp it and pull upward
to remove. You may need to use the crank handle, turning it clockwise. Be sure there are no torn
pieces of paper remaining in the upper nip rolls.
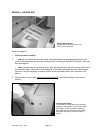
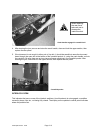
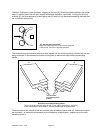
Crossfolder rear panel
Remove the rear panel for access to the
lower section of the crossfolder, including
the hub for the crank handle used to clear
jams.
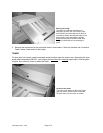
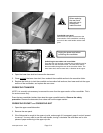
Unhitching the accordion and cross folder
Once the hitch pin has been removed, the crossfolder may be
detached from the accordion folder. The lower clam shell is
then accessible through the rear of the accordion folder. The
lower clam shell, and its center lock, is identical to the upper.
When replacing
the rear panel,
take care not to
damage the
interlock switch.
Unplug the power cord before
unhitching the crossfolder.