


Installing Printer Software in Windows
6
NOTE
: If your printer is not already connected to the
computer, the following window will appear.
• After connecting the printer, click
Next
.
• If you don’t want to connect the printer at this time, click
Next
, and
No
on the following screen. Then the installation
will start and a test page will not be printed at the end of the
installation.
• The installation window that appears in this User’s
Guide may differ depending on the printer and
interface in use.
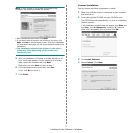
5
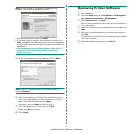
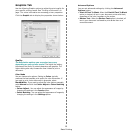
Select the components to be installed and click
Next
.
NOTE
: You can change the desired installation folder by
clicking [
Browse
].
6
After the installation is finished, a window asking you to
print a test page appears. If you choose to print a test
page, select the checkbox and click
Next
.
Otherwise, just click
Next
and skip to step 9.
7
If the test page prints out correctly, click
Yes
.
If not, click
No
to reprint it.
8
Click
Finish
.
Removing Printer Software
1
Start Windows.
2
From the
Start
menu select
Programs
or
All Programs
→
your printer driver name
→
Maintenance
.
3
Select
Remove
and click
Next
.
You will see a component list so that you can remove any
item individually.
4
Select the components you want to remove and then click
Next
.
5
When your computer asks you to confirm your selection,
click
Yes
.
The selected driver and all of its components are removed
from your computer.
6
After the software is removed, click
Finish
.