


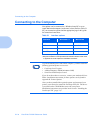
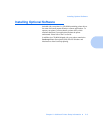


Installing Optional Software
2-6 DocuPrint P1202 Reference Guide
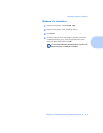
Macintosh Installation
1
Make sure that the Macintosh and your printer are connected to
each other with the proper cable. Turn on the Macintosh computer
and printer.
2
Insert the Xerox DocuPrint P1202 CD-ROM shipped with your
printer into your CD-ROM drive.
3
Open the CD-ROM icon.
4
Open the XX folder (where XX indicates the language code
*
), then
open the PS folder, and then the Mac folder.
5
Drag and drop the docu1202.ppd file to the Printer Descriptions
folder located inside the Extensions folder.
6
Open Chooser in the Apple menu.
7
Click on LaserWriter8 (provided with your Macintosh). Then the
name of your printer appears, Xerox DocuPrint P1202.
8
Click on the P1202 printer.
9
Click on the Setup button.
If there is a Create button, click on it. The installation is
completed, and you do not need to proceed with the
following steps.
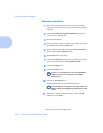
10
Click on the Auto Setup button.
The Docu1202.ppd file will be installed automatically.
If Auto Setup does not complete successfully, click Select
PPD and choose docu1202.ppd. If prompted for CD, click
Cancel.
11
Make sure the PPD file is installed correctly. Click on the OK
button, then close Chooser.
* Refer to Appendix D for language codes.