Connecting the Projector
12 Xerox DP1015 User’s Guide
Powering On/Off the Projector
To turn on the projector power
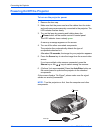
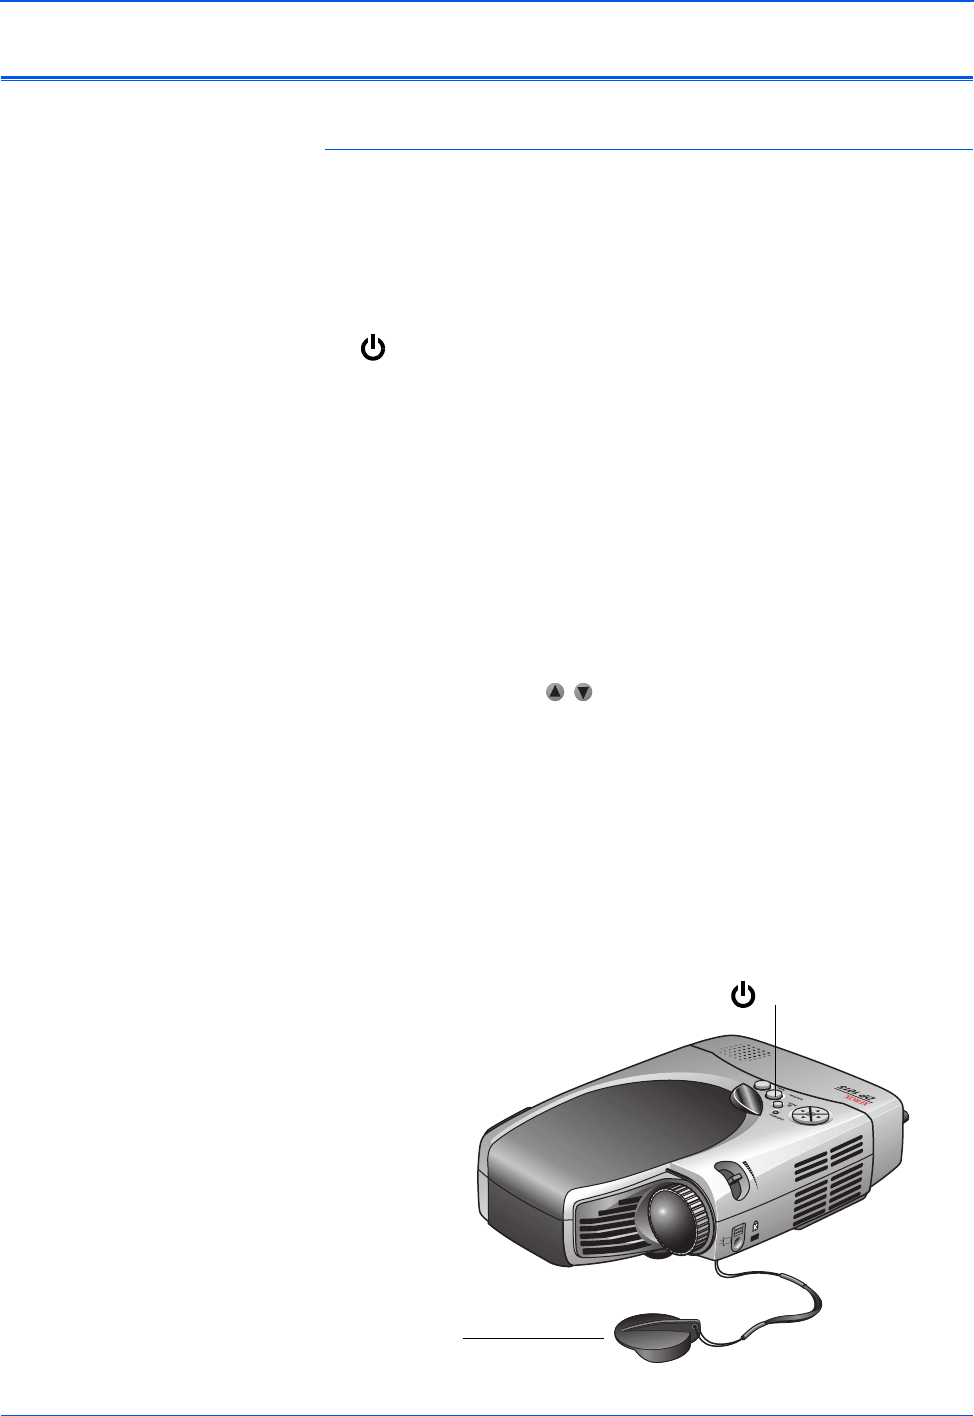
1. Remove the lens cap.
2. Make sure that the power cord and the cables from the video
and audio sources are securely connected to the projector. The
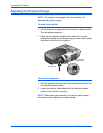
LED indicator flashes slowly.
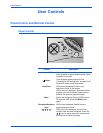
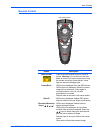
3. Turn on the lamp by pressing and holding down the
Power button on the remote control or control panel.
The LED indicator turns a steady green.
A warm-up message appears on the screen.
4. Turn on all the other connected components.
The projector then automatically detects the type of
components attached to it.
After about 30 seconds, the image for your projection appears.
5. Press the Source key to view the image from the current video
source.
If you have multiple video sources connected, press the
Source key or the keys to select among the sources.
6. (Optional, but recommended) Press the Auto/Enter button on
the control panel to optimize the projector to the attached
components.
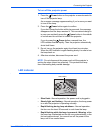
If the screen displays “No Signal”, please make sure the signal
cables are securely connected.
NOTE: Turn the projector on first, then the computer and other
components.
Power
Lens cap


