


User Controls
20 Xerox DP1015 User’s Guide
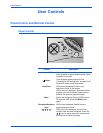
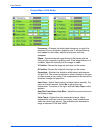
On-Screen Display (OSD) Menus
The On-Screen Display (OSD) menus provide the options to make
image adjustments and change a variety of settings.
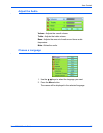
Displaying Menus and Selecting Items
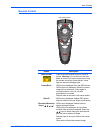
1. To open the OSD Menu, press the Menu button on the remote
control or on the projector’s control panel.
To close the OSD Menu, press the Freeze/ESC/L button. The
menus close if you don’t select from them within 10 seconds.
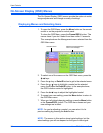
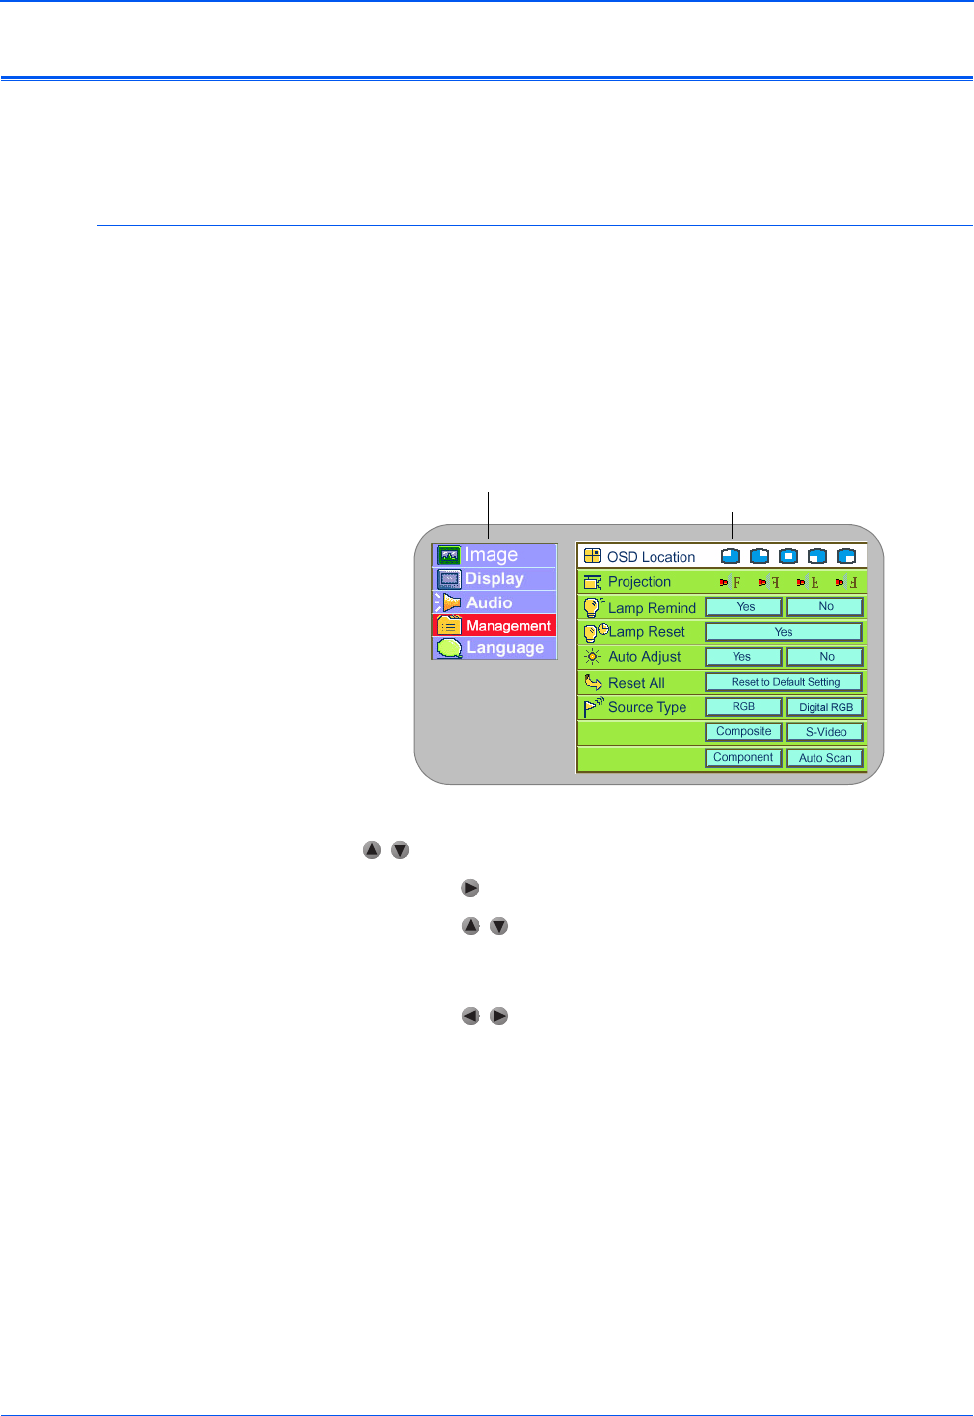
This example shows the Management menu selected from the
OSD Main menu.
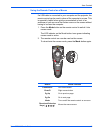
2. To select one of the menus on the OSD Main menu, press the
keys.
3. Press the key or Enter/R button to get to the selected menu.
4. Press the keys to highlight a control on the selected
menu, then press the Enter/R button. In the example above,
the OSD Location control is highlighted.
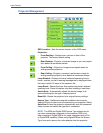
5. Press the keys to adjust the highlighted control.
6. To accept your new setting, press the Menu button to return to
the OSD Main menu.
7. When you’re finished changing settings, press the Menu button
or the Freeze/ESC/L button. The OSD menu closes and your
new settings are in effect.
NOTE: As you’re adjusting a control, you can return it to its
previous setting by pressing the Auto button.
NOTE: The menus in this section show typical settings, but the
actual settings you will see depend on the type of video signal.
OSD Main menu Selected menu (Management
menu in this example)