Configuration
Standard Control Panel Parameters
76
79695L-002 Rev. A Z Series
®
/RZ™ Series User Guide 6/6/08
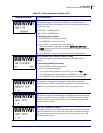
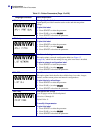
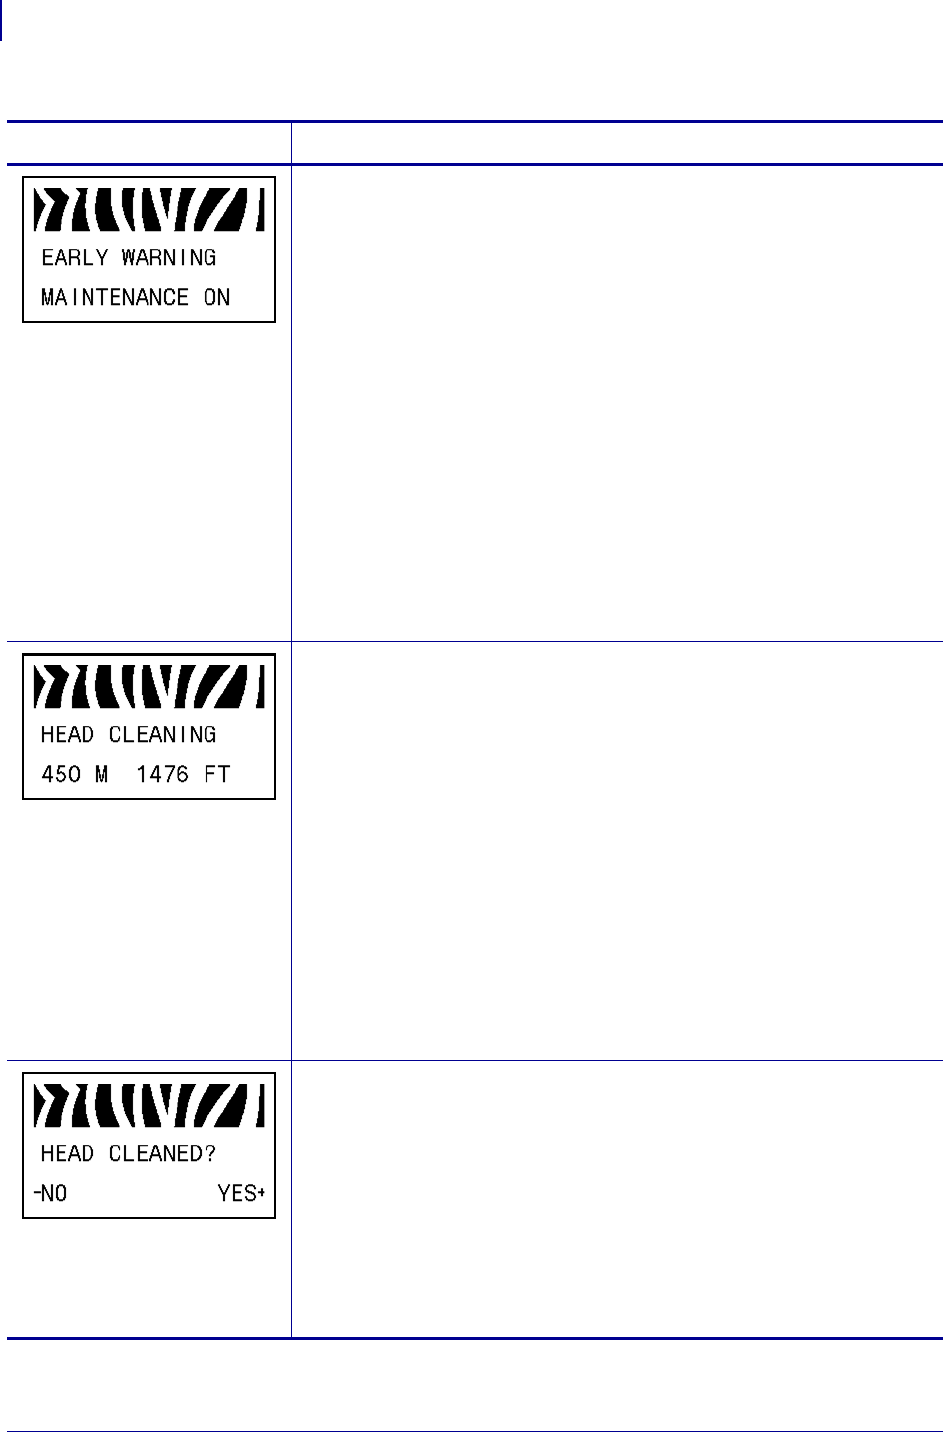
Set Early Warning for Maintenance
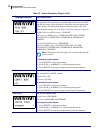
When this feature is enabled, the printer provides warnings when the
printhead needs to be cleaned.
Default Value: MAINT. OFF
Selections: MAINT. OFF, MAINTENANCE ON
To change the Early Warning settings:
1. Press SELECT to select the parameter.
2. When the LCD displays EARLY WARNING MAINTENANCE, press
PLUS (+) or MINUS (-) to toggle between OFF and ON. (If you are
prompted for a password, enter your password using the instructions in
Change Password-Protected Parameters on page 66.)
3. Exit Setup mode and save changes to enable additional parameters
related to the early warning system.
4. Enter Setup mode again and go to the following parameters to enter the
printhead cleaning interval and the printhead life.
5. Press SELECT to accept any changes and deselect the parameter.
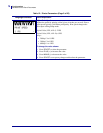
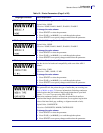
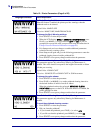
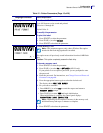
Set Printhead Cleaning Interval for Early Warning
This parameter appears only when Early Warning for Maintenance is
enabled. This value should correspond to the length of the media or ribbon
roll that you are using.
Default Value: 450 M/1476 FT
Selections: 100 M/328 FT to 450 M/1476 FT in 50 M increments
To change the value shown:
1. Press SELECT to select the parameter.
2. Press PLUS (+) or MINUS (-) to set the printhead cleaning interval to
the desired number of inches of media or ribbon.
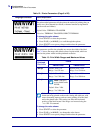
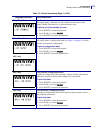
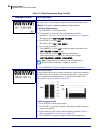
When the printhead reaches the set length,
WARNING CLEAN
PRINTHEAD
appears on the LCD. If the alert function is enabled, the
printer generates an alert.
3. Press SELECT to accept any changes and deselect the parameter.
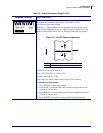
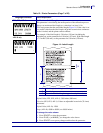
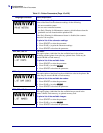
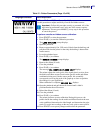
Reset Printhead Cleaning Counter for Early Warning
This parameter appears only when Early Warning for Maintenance is
enabled.
To reset the printhead cleaning counter:
1. Press SELECT to select the parameter.
2. Did you clean the printhead?
• If you cleaned the printhead, press
PLUS (+) to select YES.
• If you did not clean the printhead, press
MINUS (-) to select NO.
3. Press SELECT to accept any changes and deselect the parameter.
Table 12 • Printer Parameters (Page 8 of 26)
Language/Parameter
Action/Explanation


