


VES-1000 Series Ethernet Switch
Hardware Connections 2-1
This chapter gives a brief introduction to the VES-1000 Series hardware.
2.1 Additional Installation Requirements
In addition to the contents of the package, you need the following hardware and software components before you
install and use your product:
• A computer with a 10/100M Ethernet NIC (Network Interface Card)
• A computer with terminal emulation software configured to the following parameters:
VT100 terminal emulation
9600 bps
No parity, 8 data bits, 1 stop bit
No flow control
2.2 Back Panel
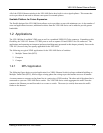
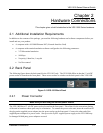
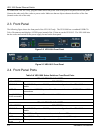
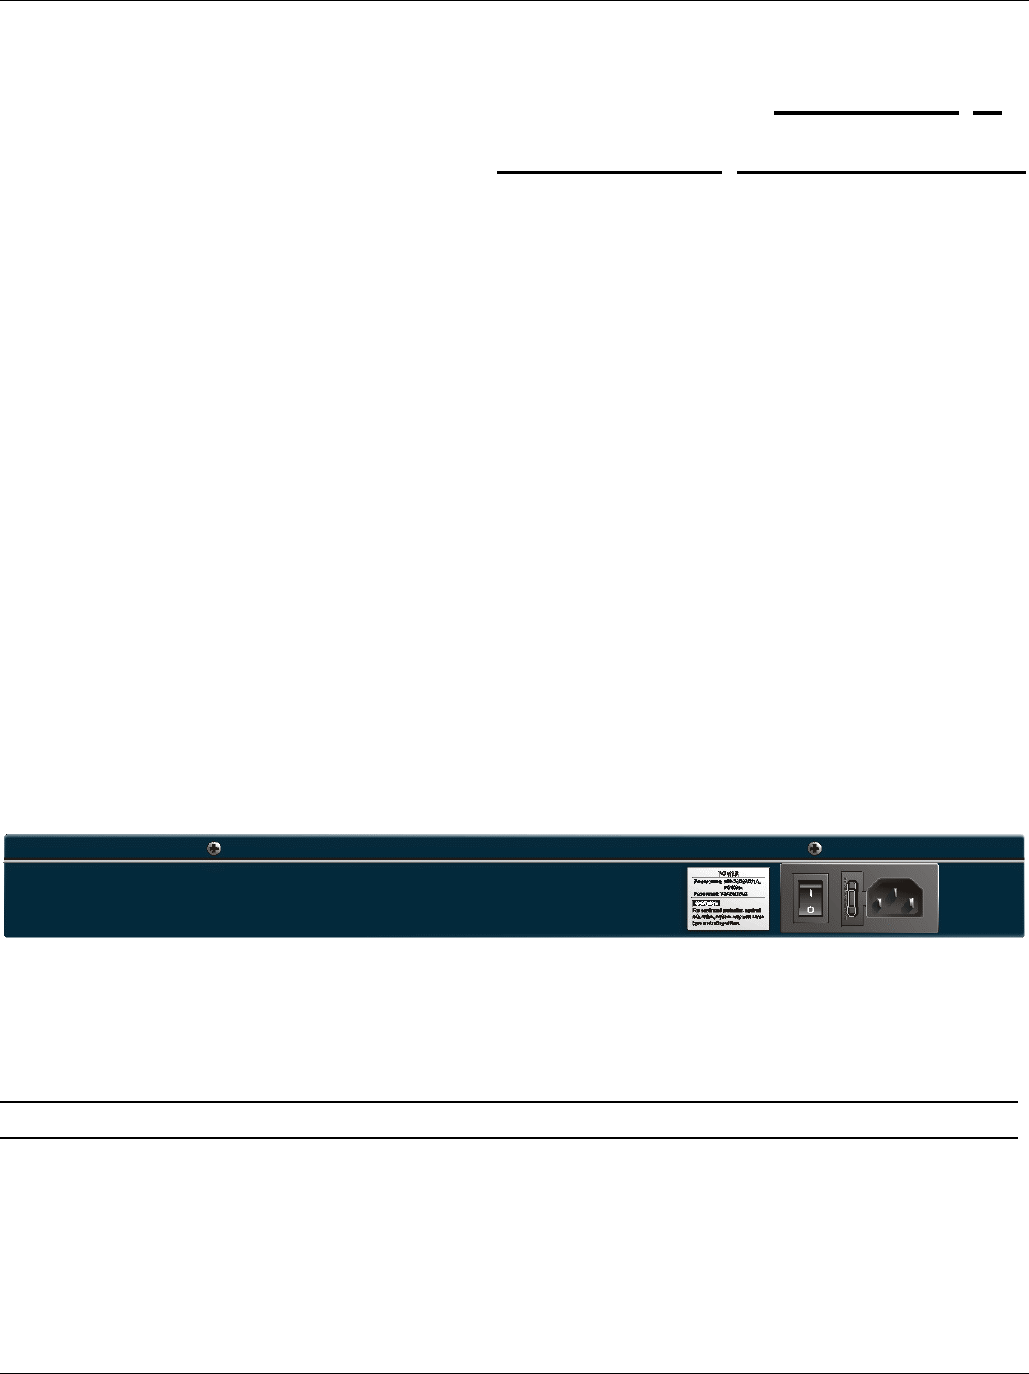
The following figure shows the back panel for the VES-1012 only. The VES-1008 differs in that the 12 volt DC
power socket is located on the front panel. There are no sockets or switches on the back panel of the VES-1008.
Figure 2-1 VES-1012 Back Panel
2.2.1 Power Connector
Make sure you are using the correct power source.
The VES-1008 has a 12 volt DC power socket located on the front panel. This allows for the convenient placing
of the unit in locations where space may be a limitation. To connect the power to the unit, insert the round end of
the plug on the supplied power adaptor into the power socket on the front panel. Connect the other end of the
supplied power adaptor to a power outlet. Always use the ZyXEL supplied power supply as the VES-1008 may
be damaged if third party power adaptors are used.
Chapter 2
Hardware
Connections