


Chapter 3 71
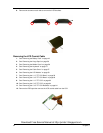
Removing the Charger Plate
1.
See “Removing the Battery Pack” on page 49
2.
See “Removing the Hinge Caps” on page 56
3.
See “Removing the Middle Cover” on page 56
4.
See “Removing the Keyboard” on page 57
5.
See “Removing the Cable Cover” on page 57
6.
See “Removing the LCD Module” on page 58
7.
See “Removing the CPU Heat Sink Plate” on page 67
8.
See “Removing the RTC Battery” on page 67
9.
See “Removing the Upper Case” on page 69
10.
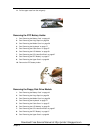
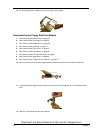
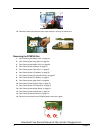
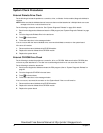
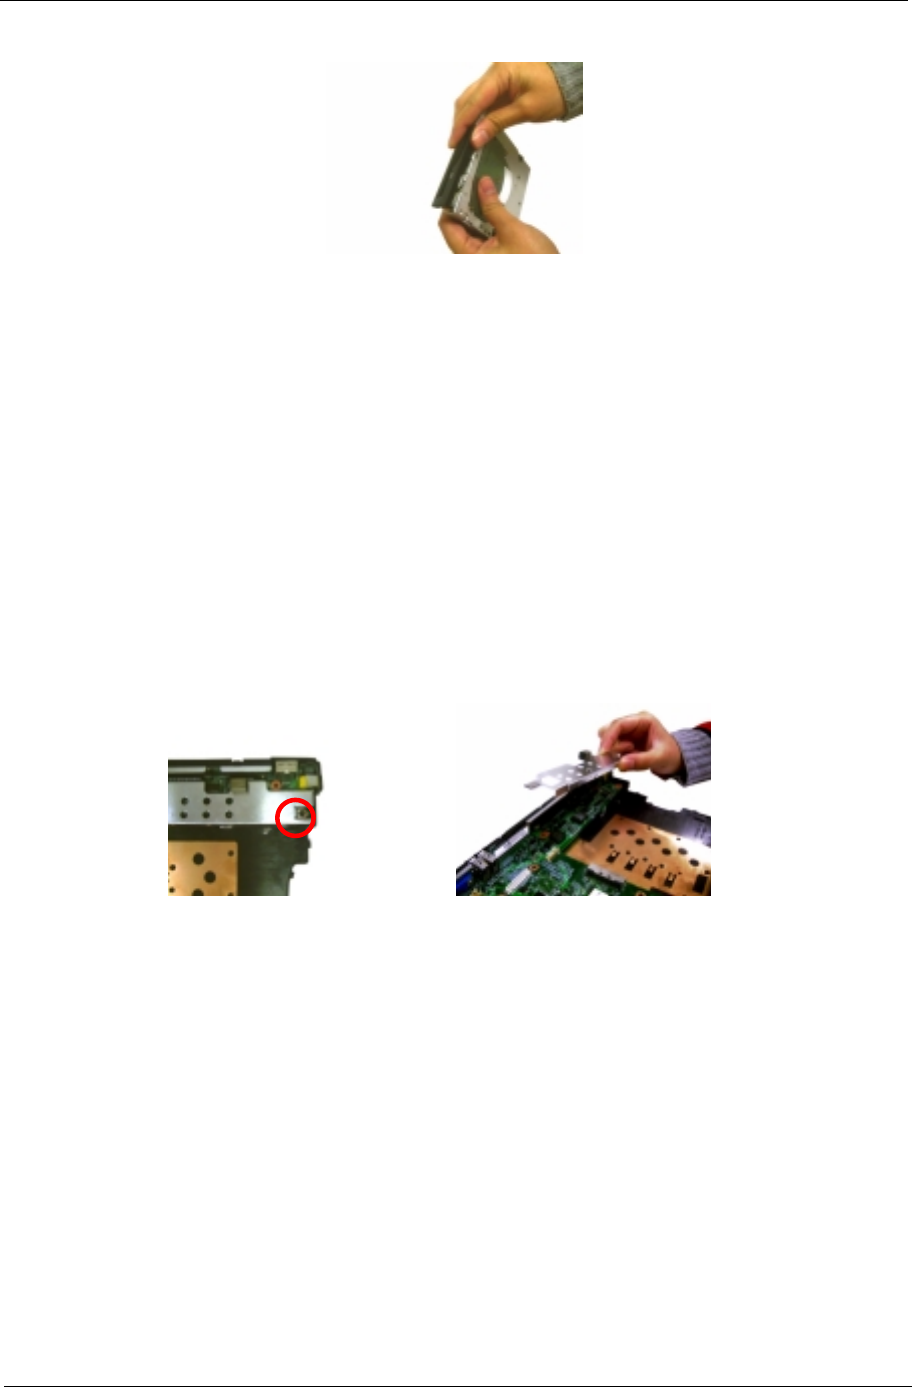
To remove the charger plate, first remove the screw from the charger plate then remove the charger plate
from the main board.
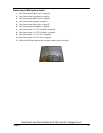
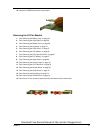
Removing the CPU Heat Sink
1.
See “Removing the Battery Pack” on page 49
2.
See “Removing the Hinge Caps” on page 56
3.
See “Removing the Middle Cover” on page 56
4.
See “Removing the Keyboard” on page 57
5.
See “Removing the Cable Cover” on page 57
6.
See “Removing the LCD Module” on page 58
7.
See “Removing the CPU Heat Sink Plate” on page 67
8.
See “Removing the RTC Battery” on page 67
9.
See “Removing the Upper Case” on page 69
10.
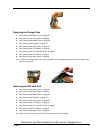
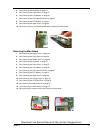
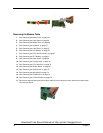
Remove the four screws to detach the CPU heatsink from the main board.
Download Free Service Manual at http://printer1.blogspot.com