


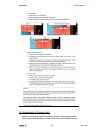
:ANAPURNA XL² OPERATOR MANUAL
AB]]]]]]]]]]]]]]]]]]]]]]]]]]]]]]]]]]]]]]]]]]]]]]]]]]]]]]]]]]]]]]]]]]]]]]]]]]]]]]]]]]]]]]]]]]]]]]]]]]]]]]]]]]]]]]]]]]]]]]]]]]]]]]]]]]]]]]]]]]]]]]]]]]]]]]]]]]]]]]]]]]]]]]]]]]]]]]]]]]]]]]]]]]]]]]]]]]]]]]]]]]]]]]]]]]]]]]]]]]]]]]]]]]]]
24
]
8/08/2008
]
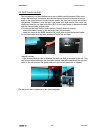
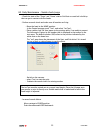
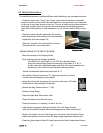
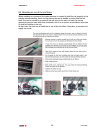
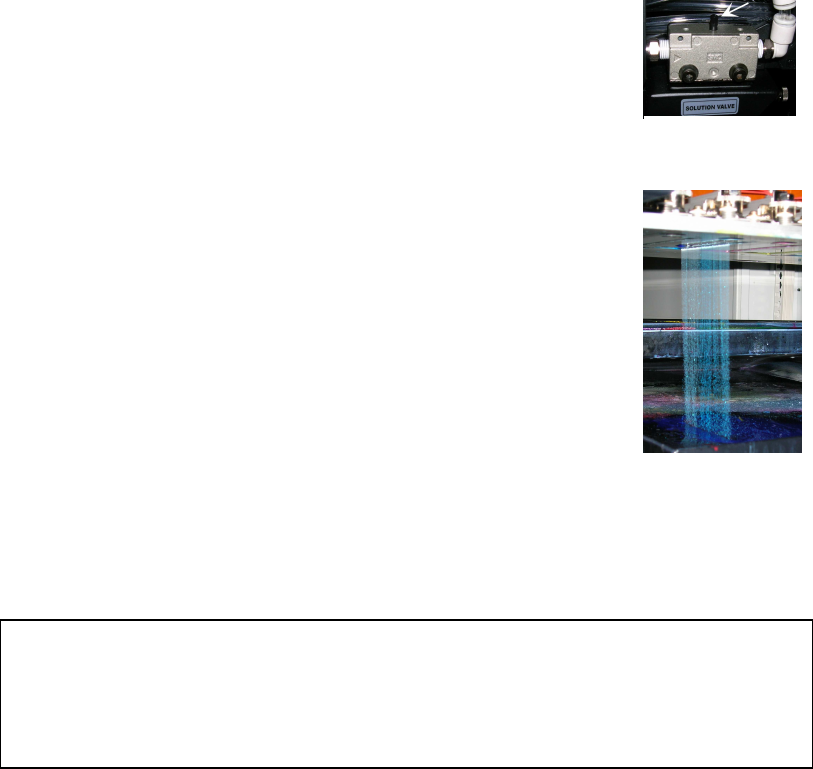
When purging with “Cle
aning
-
Soluti
on”, always work
in three
steps.
To clean all 8 heads, first purge the 4 right heads (Lc, Lm, W1, W2), close them,
and in the second stage, purge the remaining 4 left heads (K, C, M, Y).
Finally, open the 4 right heads again, and purge all 8 heads together now.
By doing so, you’ll have the most optimal cleaning pressure.
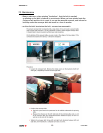
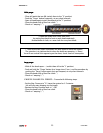
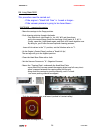
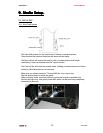
CLEANING
CLEANINGCLEANING
CLEANING failing heads
failing heads failing heads
failing heads:
::
:
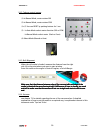
- Set the valves of the failing heads to the “S” position.
- Set the Solution valve to “S”.
- Push the “Solution-Purge” button on the back of the carriage.
(Keep pushing in a sequence of 2 seconds push and 4 seconds
release until you see a CLEAR “Solution-Curtain”
under the heads, then stop pushing)
- Leave the heads leaking in this condition for at least 5 minutes.
- Set all the valves back to “I”.
- Give a little purge.
- Set the Neg. Pressure to “0”, leave the system for 1 minute
(Ink will now start dripping out the heads)
- Restore the Neg. Pressure back to “-.036”
- Clean the heads with a fiber-free cloth.
- Check on “weeping” (**)
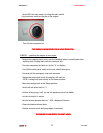
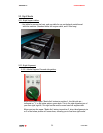
Solution Valve
Solution Valve Solution Valve
Solution Valve
S
SS
S
olution
olutionolution
olution
-
--
-
Curtain
CurtainCurtain
Curtain