:ANAPURNA XL² OPERATOR MANUAL
AB]]]]]]]]]]]]]]]]]]]]]]]]]]]]]]]]]]]]]]]]]]]]]]]]]]]]]]]]]]]]]]]]]]]]]]]]]]]]]]]]]]]]]]]]]]]]]]]]]]]]]]]]]]]]]]]]]]]]]]]]]]]]]]]]]]]]]]]]]]]]]]]]]]]]]]]]]]]]]]]]]]]]]]]]]]]]]]]]]]]]]]]]]]]]]]]]]]]]]]]]]]]]]]]]]]]]]]]]]]]]]]]]]]]]
48
]
8/08/2008
]
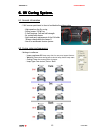
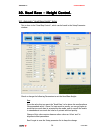
11.3.8. Head LineUp test:
This test is used to align the slant of the heads, and should not be used by a user.
When the engine is installed, or a print head has been exchanged, this test is
carried out by a technician.
12
1212
12.
. .
. Print
PrintPrint
Printing an image
ing an imageing an image
ing an image.
..
.
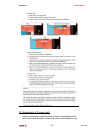
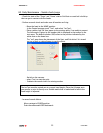
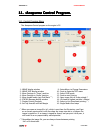
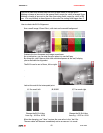
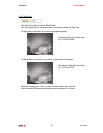
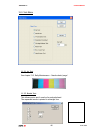
12.1. Preparing an image
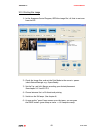
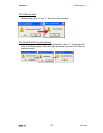
First you need to install and configure the Wasatch RIP.
(Read the Wasatch Manual on how to)
Configure the “output” folder in Wasatch to “c:\rtl” on the Anapurna PC.
Now you need to prepare the image file in the Wasatch RIP.
(Read the Wasatch Manual on how to)
At the RIP level, you’ll already need to determine, the # of passes (speed) you
want the image to be printed out at, later on the Anapurna.
If you should RIP an image for a 6 pass output, and on the Anapurna, you print it
at 8 pass, it will result in an un-proportionally scaled printout.
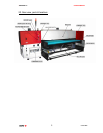
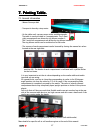
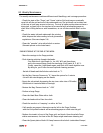
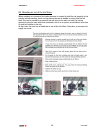
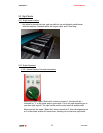
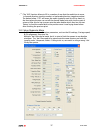
12.2. Preparing the :Anapurna
1) The carriage must be moved to the home position first.
Always make sure there is NO media or obstructions on the conveyor belt
when you move the carriage to the home position.
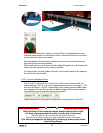
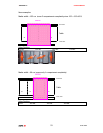
2) Place/load the media (rigid/flexible) onto the front side of the belt,
turn on the vacuum. (white lamp on tower => vacuum is on)
3) Check that you are using the correct setup file (textbox in lower left corner
of the ‘Setup’ menu shows you the loaded setup file; If a new setup file is
loaded, don’t forget to do a ‘parameter download’ to activate the loaded
parameters into the machine.
4) Perform a Set Gap. (See chapter 10); Make sure that the sensor senses on top
of your media.
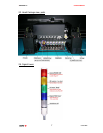
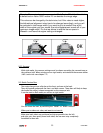
5) Perform a Jet Test:
Place an A4 size paper, onto your media, or if you’ve loaded a flexible media,
you can immediately do it on that surface. (See chapter 8.1)
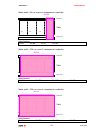
6) Position your rigid media, by means of the register pins on the backside.
(blue light on tower => register pins are down)
If you have loaded a flexible media, it’s still present from step 2.
7) The :Anapurna is now ready for printing.