


Single port PS2 KVM over IP
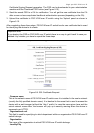
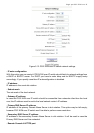
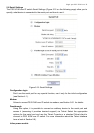
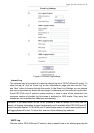
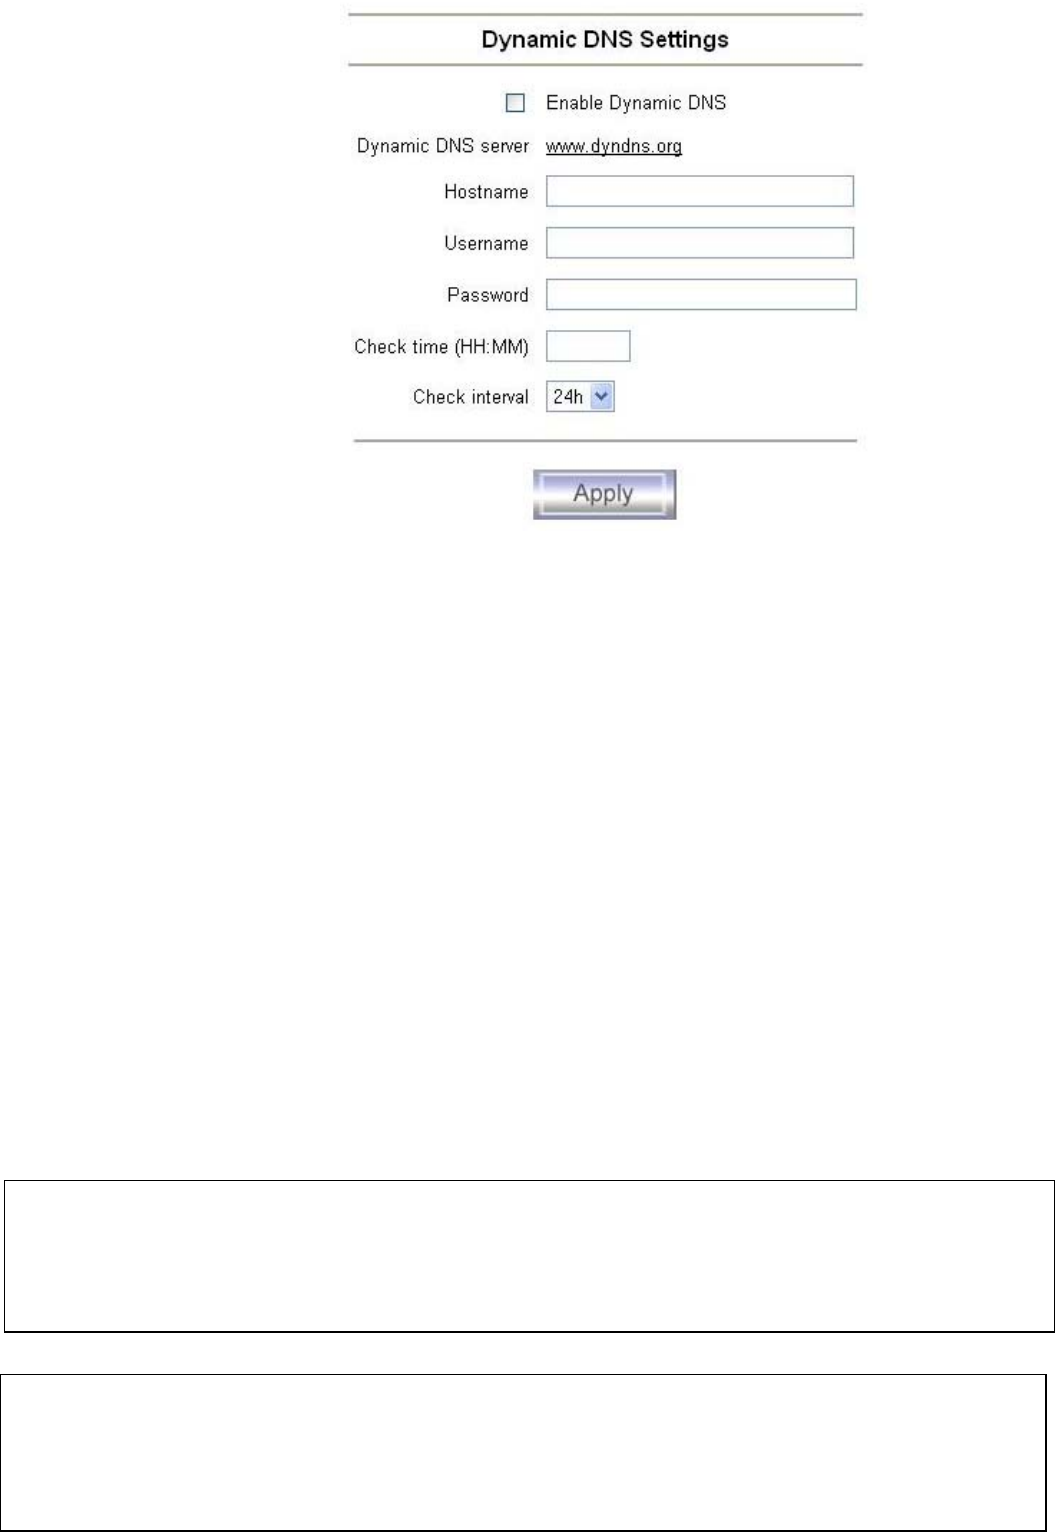
Figure 5.14: Dynamic DNS configuration panel
You have to perform the following steps in order to enable Dynamic DNS:
1. Make sure the LAN interface of PS/2 KVM over IP switch is properly configured.
2. Enter the Dynamic DNS Settings configuration dialog as shown in Figure 5.14 (Menu →
Network Settings → Dynamic DNS Settings)
3. Enable Dynamic DNS and change the settings according to your needs (see below).
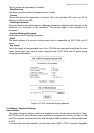
. Enable Dynamic DNS
This enables the Dynamic DNS service. This requires a configured DNS server IP address.
. Dynamic DNS server
Here you enter the server name where PS/2 KVM over IP switch registers itself in regular
intervals. If left blank the default will be used.
. Nickname
You have registered this nickname during your manual registration with the Dynamic DNS
Server. Spaces are not allowed in the Nickname!
. Check time
PS/2 KVM over IP switch card registers itself in the Dynamic DNS server at this time.
. Check interval
This is the interval for reporting again to the Dynamic DNS server by PS/2 KVM over IP
switch.
Note:
PS/2 KVM over IP switch has its own independent real time clock. Make sure the time setting o
f
PS/2 KVM over IP switch is correct. This can be achieved by configuring a timeserver (see
Figure 5.21)
Note:
PS/2 KVM over IP switch registers itself to the Dynamic DNS server slightly different from the
time configured. To reduce load peaks on the server we add a random time (0-10 min) to the
absolute time value.