


III-10
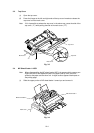
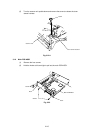
3.8 Fixing Unit
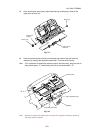
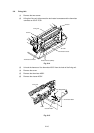
(1) Remove the two screws.
(2) Lifting the fixing unit, disconnect the two heater harnesses and the thermistor
connector on the EL PCB.
Fig. 3.14
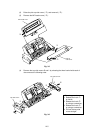
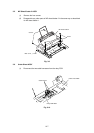
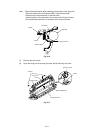
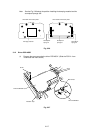
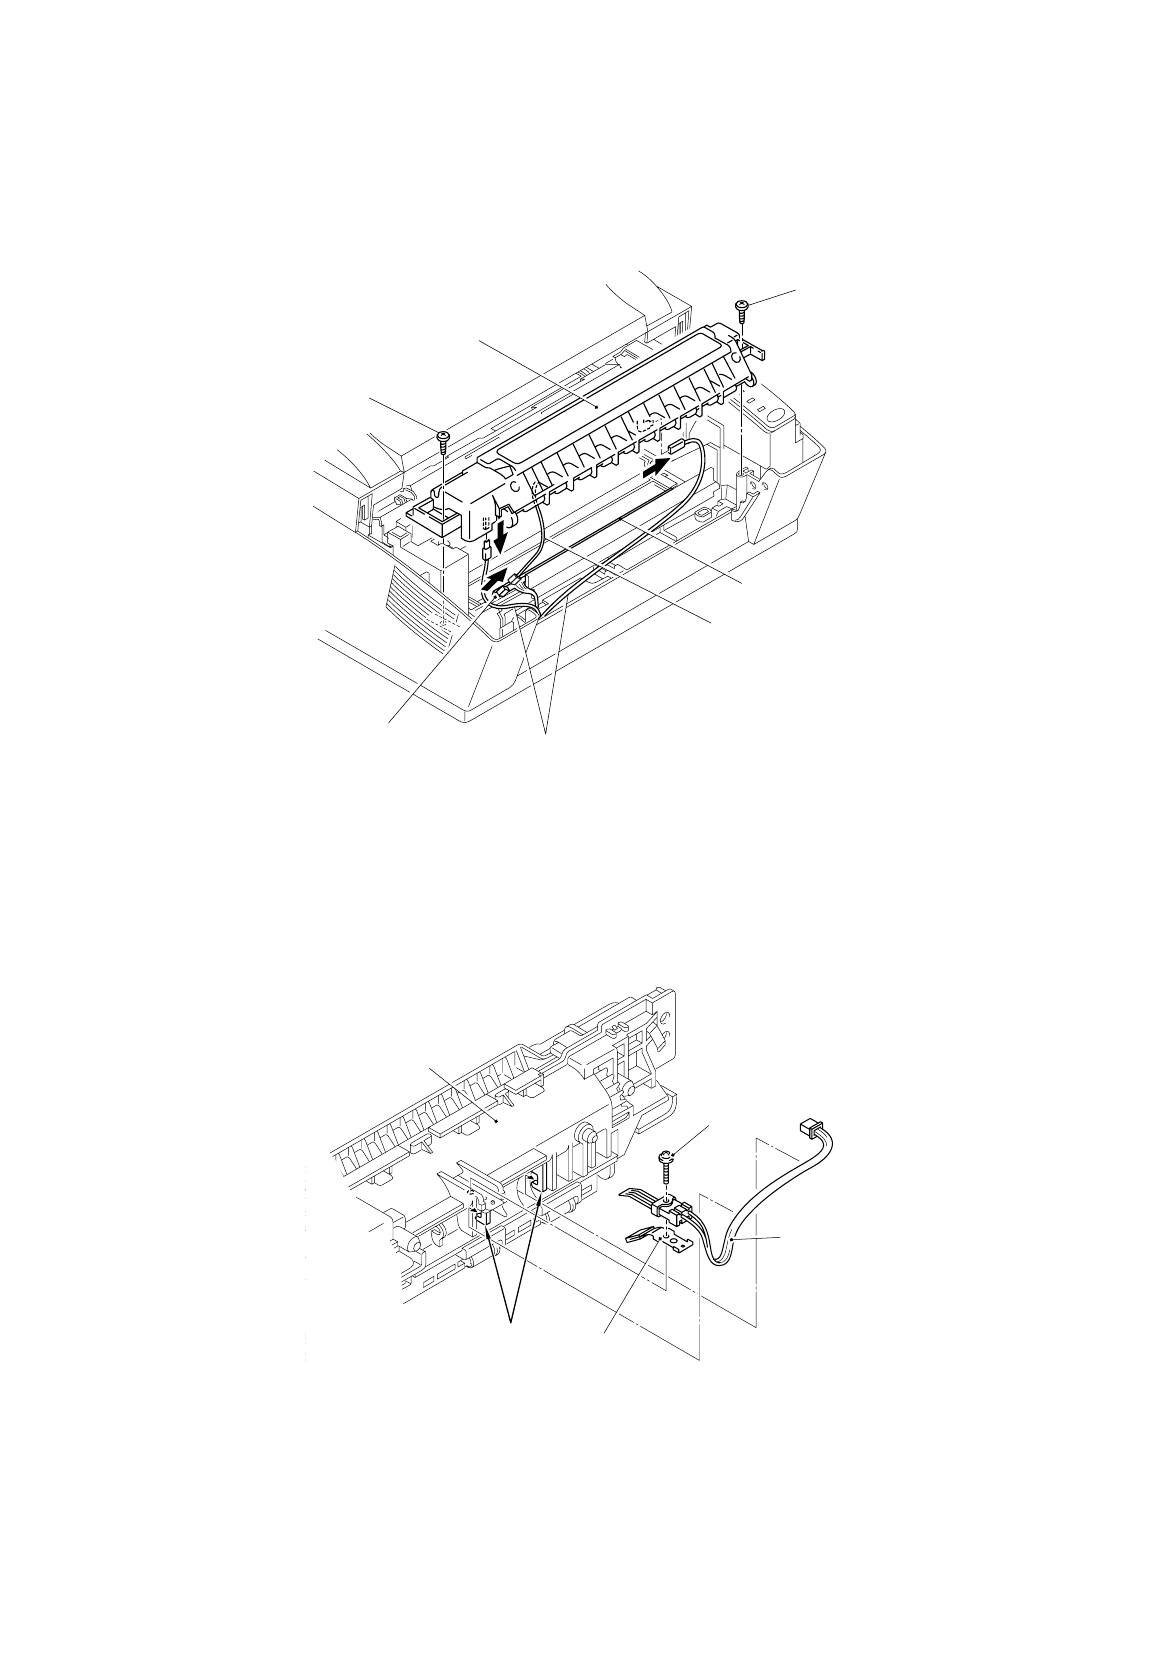
(3) Unhook the harness of the thermistor ASSY from the hook of the fixing unit.
(4) Remove the screw.
(5) Remove the thermistor ASSY.
(6) Remove the cleaner ASSY.
Fig. 3.15
Fixing unit
Cup B ti
g
ht M3x14
Hook
Cleaner ASSY
Thermistor ASSY
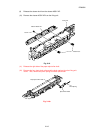
Fixing unit
Screws
Screws
Thermistor connector
Heater harness
(
White
)
Thermistor harness
EL PCB