


2 - 8
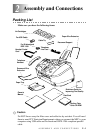
ASSEMBLY AND CONNECTIONS
4
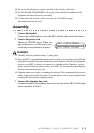
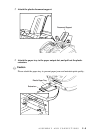
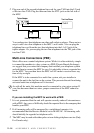
Open the Black ink cartridge bag and remove the ink cartridge.
5
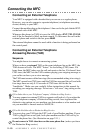
Carefully remove the sealing tape from the bottom of the ink cartridge. Be sure
to peel the tape in the direction away from you.
Important
To prevent spilling ink and staining your hands and clothing, peel the sealing
tape gently and slowly. Do not touch the ink opening on the cartridge or the
removed tape.
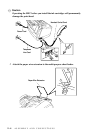
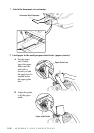
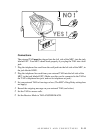
6
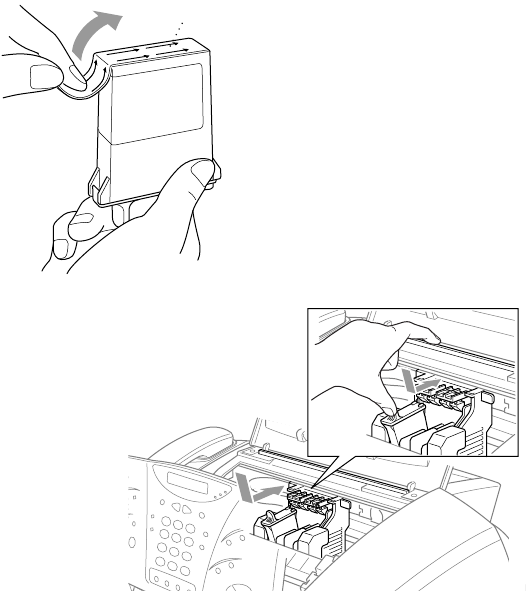
Each color has its own
correct position. Match
the markings of the color
indicators on the cartridge
holder as a guide. Then,
gently insert the Black ink
cartridge by tilting it
toward you and then
pressing it backward until
it clicks into place.
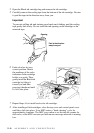
7
Repeat Steps 4–6 to install each color ink cartridge.
8
After installing all ink cartridges, close the top cover and control panel cover
until they click into place. Your MFC enters a “head cleaning” cycle for
approximately 6 minutes. The MFC goes online to set the ink dot counter for
each color, so the MFC can warn you with an error message when ink is running
low.
Opening
Peel in the direction
away from you!