


17
6
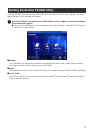
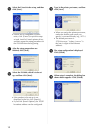
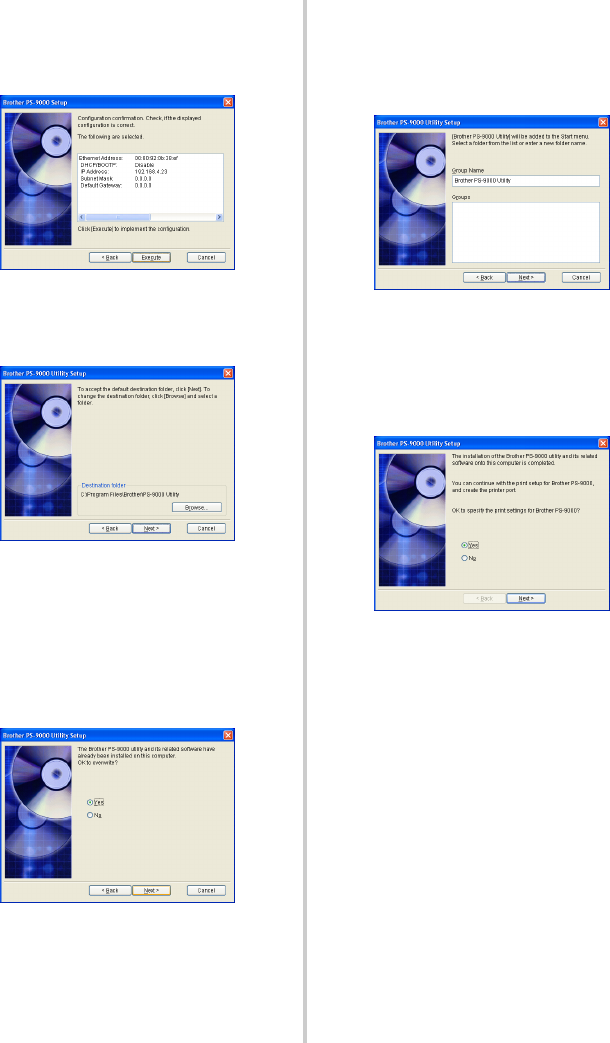
The selected configuration is displayed
for you to check it. If the configuration is
correct, click [Execute] to apply it. The
settings are sent to the PS-9000.
7
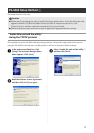
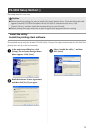
The Brother PS-9000 Utility is installed.
Click [Next] if you do not want to change
the destination directory.
• The screen shown below appears if the
Brother PS-9000 Utility has already
been installed on your computer.
Select if you want to overwrite the
software, and then click [Next]. If you
selected “Yes”, continue with the
operation described above. If you
selected “No”, continue with step 10.
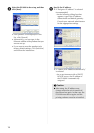
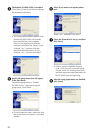
8
Specify the group name that will appear
in the Start menu.
The default group name is “Brother
PS-9000 Utility”. After specifying the
group name, click [Next].
• If you change the name, make sure that
the group name you specify is not used
already.
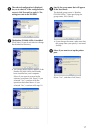
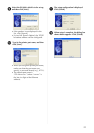
9
Select if you want to set up the printer
port.
Select “Yes”, and then click [Next].