


8-2
Maintenance
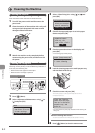
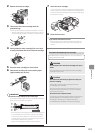
Cleaning the Exterior
Clean the exterior of the machine and ventilation slots.
1 Turn OFF the power switch and disconnect the
power cord.
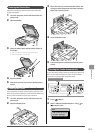
2 Clean the exterior of the machine with a soft, well
wrung out cloth dampened with water or mild
detergent diluted with water.
3 Wait for the machine to dry completely before
reconnecting the power cord, and then turn ON
the power.
Cleaning the Fixing Unit
The fixing unit may be dirty under the following conditions. In
such case, clean the fixing unit.
• When black streaks appear on the output
• When the toner cartridge is replaced
Keys to be used for this operation
OK
Menu
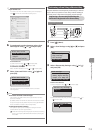
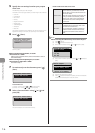
1 Press [ ] (Menu).
2 Select <Adjustment/Maintenance> using [ ] or
[ ] and press [OK].
Menu
Scan Settings
USB Direct Print Se
...
Printer Settings
Adjustment/Maintenan
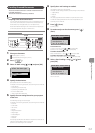
3 Select <Clean Fixing Unit> using [ ] or [ ] and
press [OK].
Adjustment/Maintenance
Toner Saver Mode
Black Text Processi
...
Special Processing
Clean Fixing Unit
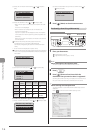
4 Check if the supported paper is set in the paper
drawer and press [OK].
Supported Paper:
Size: A4, LTR
Type: Plain, Plain L
OK
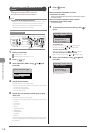
5 Check the procedure shown in the display and
press [OK].
* The cleaning paper will be printed.
Steps (Stare:Press OK)
1. Print Clean. Sheet
2. Start Cleaning
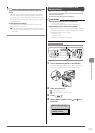
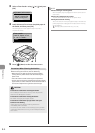
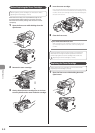
6 Load the cleaning paper to the multi-purpose tray
with the black band side up.
7 Check the screen and press [OK].
The cleaning begins. It takes approximately 80 seconds to
complete the process.
Place the cleaning
sheet with the print
face up in the mulch-
purpose tray, and
press OK.
* We recommend that plain paper be loaded when cleaning the
fixing unit.
When the cleaning does not start
You cannot use this function when jobs are stored in memory.
8 Press [ ] (Menu) to close the menu screen.
Cleaning the Machine