


33
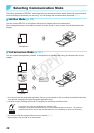
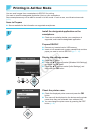
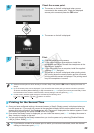
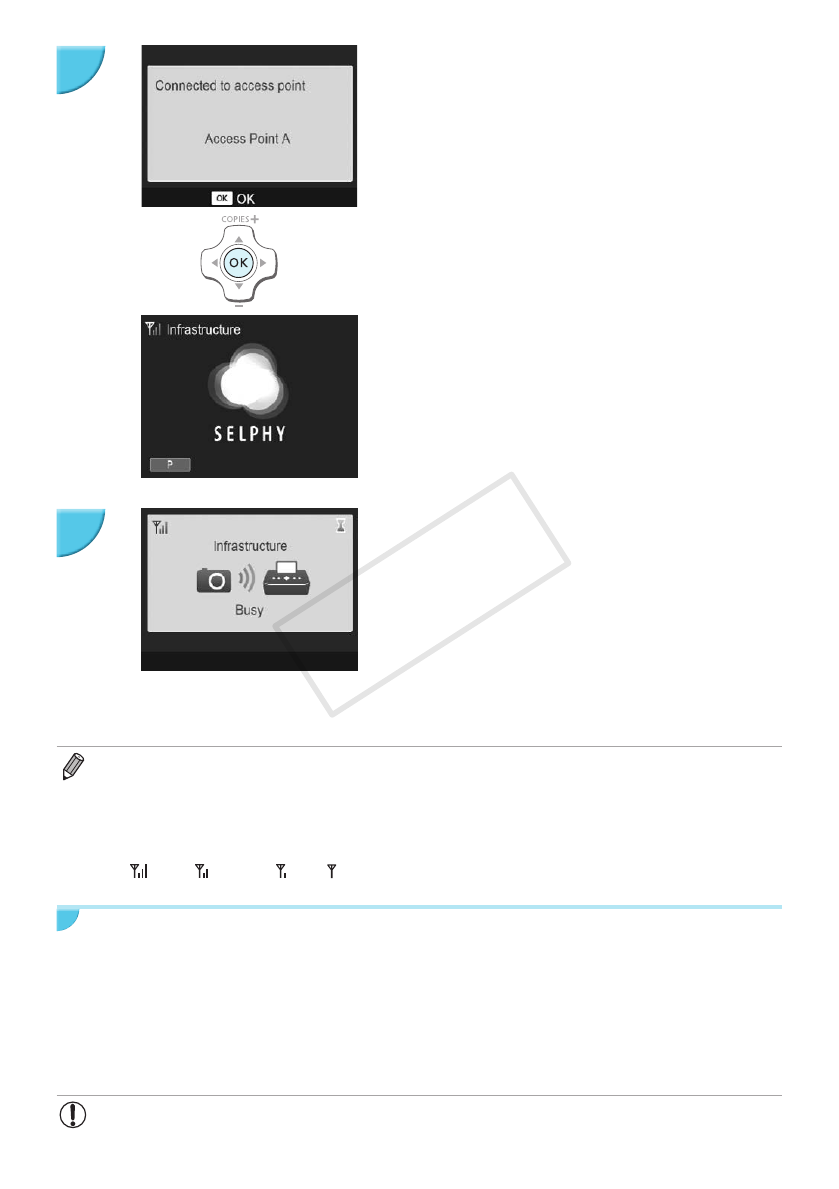
Check the access point.
O The screen on the left is displayed when you are
connected to the access point. Check the displayed
access point name and press the o button.
X The screen on the left is displayed.
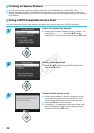
Print.
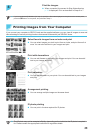
O Print the image from the camera.
O If you are printing from a smartphone, install the
designated application, connect the smartphone to the
access point, and print.
O If you are printing from a computer, install the supplied
software (p. 37) and print.
X The screen on the left is displayed when printing starts.
Do not shut down the communication and do not cancel
printing while this screen is displayed. The printing result
may be incomplete or incorrect.
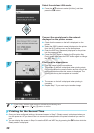
O Select an access point on which security is not set in Step 4 and press the o button to display the screen for
Step 6.
O Up to 20 access points can be displayed. If you cannot nd the access point you want to connect to, press the
v button and select [Manual Settings] in Step 3 described on p. 32 to specify the access point manually. Follow
the instruction on the screen to enter the SSID, security settings, and encryption key (p. 42).
O On the screen, wireless signal strength is indicated by the following icons.
[
] high, [ ] medium, [ ] low, [ ] weak or no service
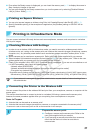
Printing for the Second Time
O Once you have congured settings, the second screen in Step 6 (Ready screen) is displayed when you
turn the power on. If you could not connect to the specied wireless LAN for some reason such as the
access point being turned off, the Ready screen with "Reconnect" displayed at the bottom appears. Check
the access point setting and press the o button to try again.
O Even when the Ready screen is displayed, you can insert the memory card p. 13 to display the screen in
Step 4 and print images in the card.
O You can stop displaying the Ready screen when you turn the power on by selecting [Disable Wireless
LAN] in [Comm. Mode] (p. 41).
O If you failed to connect to an access point to which you had once connected, check the channel
setting on the access point (p. 51).
6
7
COPY