


7
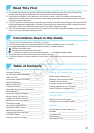
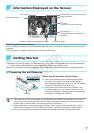
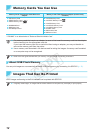
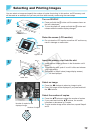
Information Displayed on the Screen
File number
Print settings (pp. 21 – 24)
(Settings that are not available are
dimmed)
Number of copiesNumber of copies for the displayed image
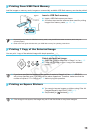
Memory card slot (p. 12)
Paper orientation
Shooting date of the displayed image
Print size
(Postcard size in this example)
Switching the screen display
You can display the image full-screen by pressing the - button. A frame to indicate the print range is also
displayed.
You can display 4 images on the screen by pressing the 0 button.
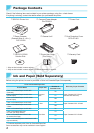
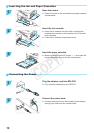
Getting Started
Preparations for printing images. A Postcard size (4 x 6 in.) Color Ink Cassette/Paper Set (sold separately)
(p. 2) will be used as an example; however, preparation is the same for other sizes.
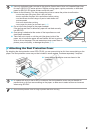
Take care not to get any dust on the paper since it may cause lines on the printed photos or damage the printer (p. 5).
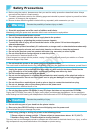
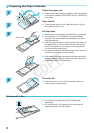
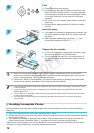
Preparing the Ink Cassette
Ink sheet
Check the ink cassette and ink sheet.
O Hold the ink cassette without touching the ink sheet
and check if the size of the paper you are going to
print matches the paper size shown on the ink cassette
(Postcard (4x6in) Size), Card Size, etc.).
O Check that the ink sheet is taut with no slack. If the
ink sheet is slack, turn the sprocket as shown in the
illustration to tighten it, otherwise the ink sheet may be
torn when it is inserted into SELPHY.
O Take care not to touch the ink sheet, not to handle the ink cassette with wet hands, and not to
get any dust or dirt in the ink sheet. Dirt and water drops may cause lines on photos, poor print
quality, a tear in the ink sheet, or cause the printer to malfunction (p. 5).
O When tightening, turn the sprocket gently without force. Forcing it may cause a tear in the ink
sheet or the ink sheet will run out before completing a photo print, resulting in leftover paper.
O Do not reuse a spent ink cassette since this may damage the printer or cause malfunction.
COPY