Setting Up a Computer for Printing/Sending a Fax
3-49
3
Using a TCP/IP Network
1
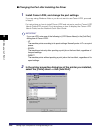
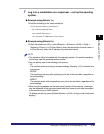
Log in to a workstation as a superuser ➞ set up the spooling
system.
● Example using Solaris 1.x:
❑
Add the following to the /etc/printcap file:
<Print queue name>|<comment>:\
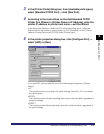
● Example using Solaris 2.x:
❑
Start the admintool utility ➞ click [Browse] ➞ [Printers] ➞ [Edit] ➞ [Add] ➞
[Access to Printer] ➞ in [Printer Name], enter the desired print queue name ➞
in [Print Server], enter the IP address or printer host name.
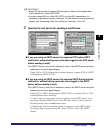
NOTE
•
The admintool utility is included with the operating system. For specific operating
instructions, see the operating system manual.
•
You can specify one of the following print queues.
-LP
The machine prints according to its spool settings. Normally, <LP> is entered as a
print queue.
- SPOOL
The machine prints only after spooling a print job on the hard disk, regardless of
its spool settings.
-DIRECT
The machine prints without spooling a print job on the hard disk, regardless of its
spool settings.
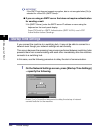
•
When the job log appears on the touch panel display of the machine, <unknown>
may be displayed as the document name and user name of print data transmitted
to the machine over a UNIX network.
(To display the job log, press [System Monitor]
➞
[Print]
➞
[Log] on the touch panel
display.)
:lp=<device special file>:\
:sd=<spool directory>:\
:rm=<printer IP address or host name>:


