


69Troubleshooting
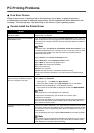
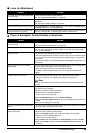
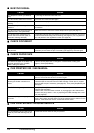
Lines Are Misaligned
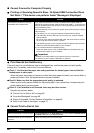
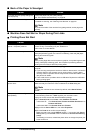
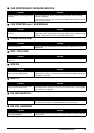
Paper Is Smudged / Printed Surface Is Scratched
Cause Action
The paper and print quality settings are
not set properly.
Confirm the paper and print quality settings.
See “Print Results Not Satisfactory” on page 68.
Print Head is misaligned. If you did not align the Print Head after installation, straight lines may be printed
misaligned.
See “Aligning the FINE Cartridge” on page 55.
Size of the print data is extremely large. Click Print Options on the Page Setup sheet. Then, select the Prevent loss of
print data check box in the displayed dialog.
The Printing layout printing or Binding
margin function is being used.
When the Printing layout printing or Binding margin function is being used, thin
lines may not be printed. Try thickening the lines in the document.
Cause Action
The paper and print quality settings are
not set properly.
Confirm the paper and print quality settings.
See “Print Results Not Satisfactory” on page 68.
Printing on inappropriate type of paper. Check to see if the paper you are printing on is suitable for your printing
purpose. See “Paper Requirements” on page 21 to make sure that the paper
you are using is suitable.
Paper is curled. Turn the paper over and reload it to print on the other side.
Leaving the paper loaded on the Rear Tray for a long time may cause the paper
to curl. In this case, load the paper with the other side facing up. It may resolve
the problem.
We recommend putting unused paper back into the package and keeping it on a
level surface.
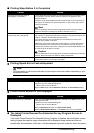
Printing beyond the recommended
printing area.
If you are printing beyond the recommended printing area of your printing paper,
the lower edge of the paper may become stained with ink.
Resize your original document in your application software.
For details on recommended printing area, see “Paper Requirements” on
page 21.
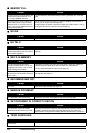
Inside of the machine is dirty. Perform the Bottom Plate Cleaning to clean the inside of the machine.
For details on cleaning, see “Cleaning Your Machine” on page 56.
Note
To prevent the inside of the machine from getting stained, set the page size
correctly.
Printed paper is taking long to dry. Doing so gives the printed surface enough time to dry so that paper smudged
and scratched are prevented.
(1)Make sure that the machine is turned on.
(2)Open the printer properties dialog box.
Refer to the On-screen Manual.
(3)Click the Maintenance tab and then Custom Settings.
(4)Drag the Ink Drying Wait Time slide bar to set the wait time, and then click
Send.
(5)Confirm the message and click OK.
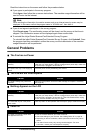
The paper is scratched by other loaded
paper.
The paper may be scratched by other loaded paper when feeding from the Rear
Tray. In this case, load one sheet at a time.
Printing graphics with the intensity
setting set too high.
If you are printing images with high intensity, the paper may absorb too much ink
and become wavy, causing paper abrasion.
Reduce the Intensity setting in the printer driver and try printing again.
(1)Open the printer properties dialog box.
Refer to the On-screen Manual.
(2)On the Main sheet, select Manual for Color/Intensity, and then click Set.
(3)Drag the Intensity slide bar on the Color Adjustment sheet to adjust the
intensity.