


Part 2: Repair Information
2-18
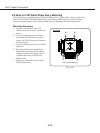
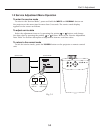
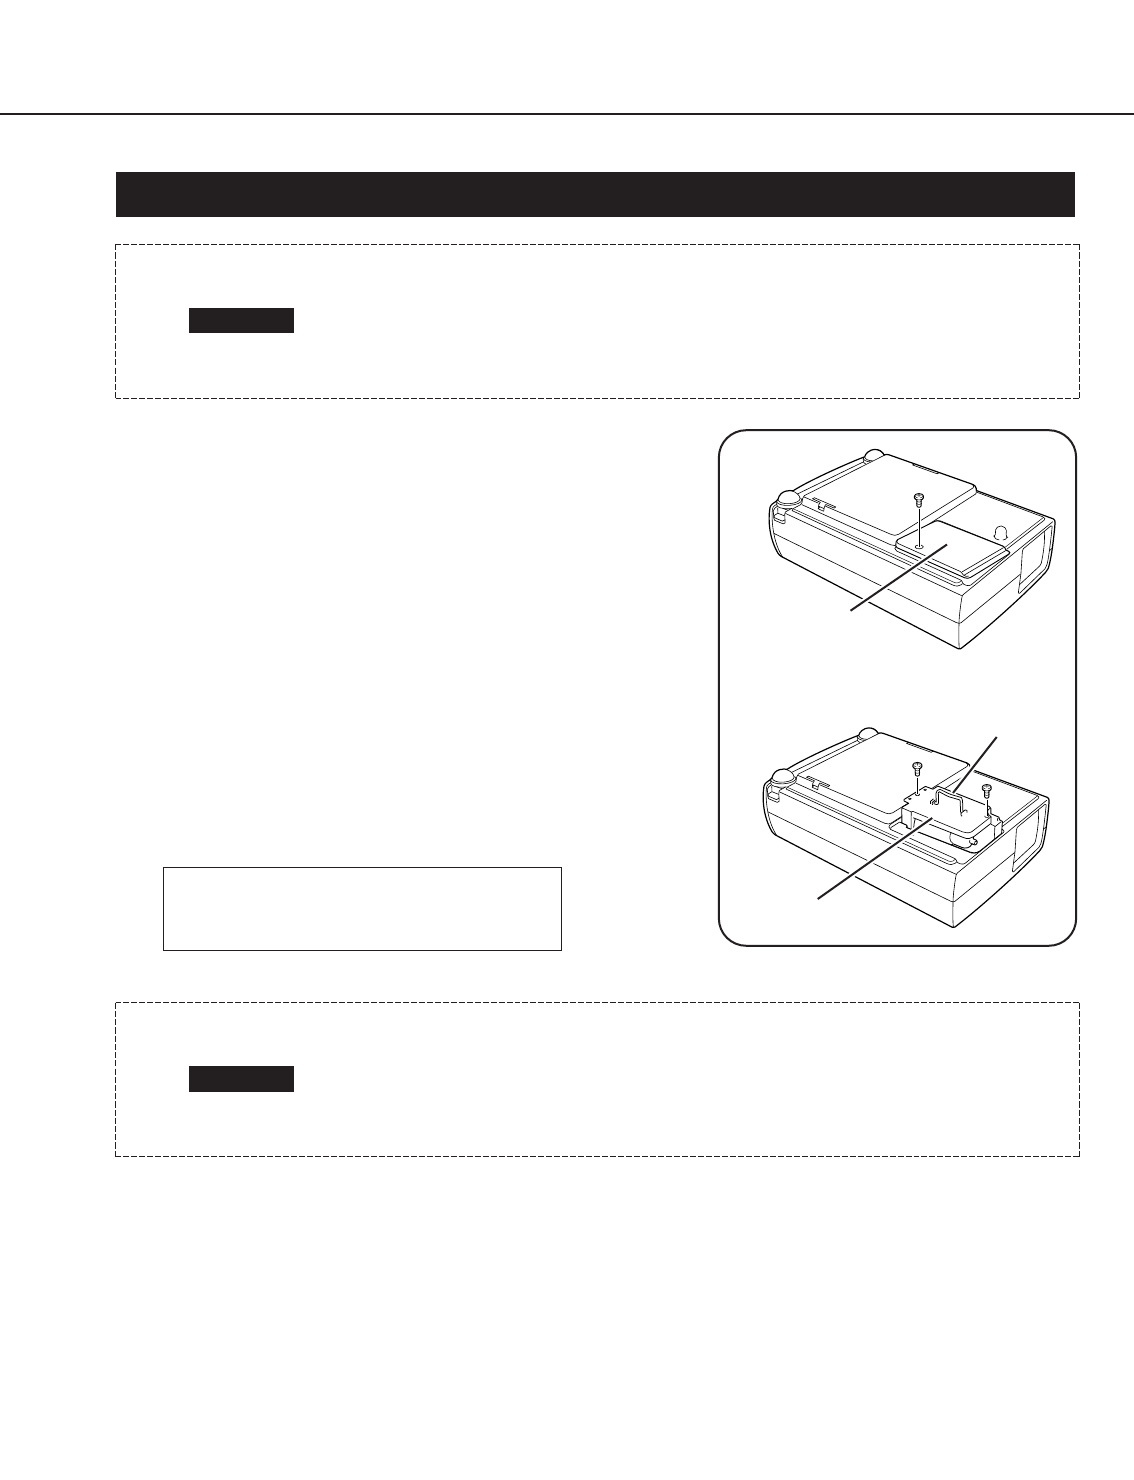
7. LAMP REPLACEMENT
Procedure
1. Turn off the projector and disconnect the AC
cord. Allow the projector to cool for at lease 45
minutes.
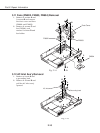
2. Remove a screw with a screwdriver and remove
the lamp cover.
3. Remove 2 screws and pull out the lamp
assembly by grasping the handle.
4. Replace the lamp assembly securely and
tighten 2 screws.
5. Place the lamp cover and tighten a screw.
6. Connect the AC cord to the projector and turn
on.
7. Reset the lamp replacement monitor timer, see
below explanation.
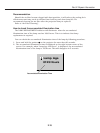
How to reset the lamp replacement monitor timer
1. Turn the projector on, and press the MENU button and the ON-SCREEN MENU will
appear. Press the POINT LEFT/RIGHT buttons to select SETTING and press the
SELECT button. Another dialog box SETTING MENU will appear.
2. Press the POINT DOWN button and a red arrow icon will appear. Move the arrow to
“Lamp age”, and then press the SELECT button. The message “Lamp replace monitor
Reset?” is displayed.
3. Select [Yes] to reset the Timer.
Please refer to the owners manual for further information.
Service Parts No.: DY4-6108-000
Description: Lamp A’ssy LV-LP10
CAUTION
• Do not reset the Lamp Replacement Monitor Timer, except after the
lamp is replaced.
• The projector can not be turned-on with the lamp cover removed,
because when the lamp cover is removed, the interlock switch is also
released to switch off the mains power for safety.
WARNING
• For continued safety, replace with a lamp assembly of the same type.
• Allow the projector to cool for at least 45 minutes before you open
the lamp cover. The inside of the projector can become very hot.
• Do not drop the lamp module or touch the glass bulb! The glass can
shatter and cause injury.
Fig. 2-25
Lamp cover
Lamp Assembly
Handle