


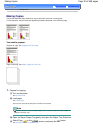
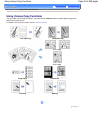


Note
If
appears next to the photo on the screen, it may not have been scanned properly.
Press the Back
button, and press the left
Function
button to select Rescan. Confirm the
message, and repeat the procedures from step 2 to scan the photo again.
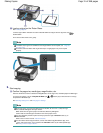
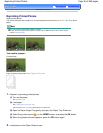
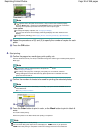
Other options
To change the display of photos, see
Changing the Display.
(You can also select Full-screen display and Enlarged display other than Normal screen
display.)
To crop photos (Trimming), see
Cropping Photos / Searching Photos by a Specified Date
.
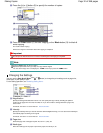
(4)
Repeat the procedures of (2) and (3) to specify the number of copies for each
photo.
(5)
Press the
OK
button.
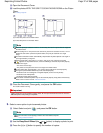
4. Start printing.
(1)
Confirm the page size, media type, print quality, etc.
Here we confirm that 4"x6" (10x15cm) is selected for Page size and the type of loaded photo paper for
Media type.
Note
To change the settings, select each item, and press the
OK
button.
See Changing the Settings.
The settings of the page size, media type, print quality, etc. are retained, and these
settings will appear next time when the Easy photo reprint menu is selected even if the
power is turned off and on.
(2)
Confirm the number of sheets to be used for printing the selected photos.
Note
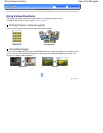
You can correct photos automatically or manually, if you press the left
Function button to
select Advanced.
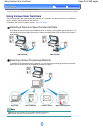
See
Using Various Functions
.
(3)
Press the
Color
button to print in color, or the
Black
button to print in black &
white.
The machine starts printing.
Remove the photos on the Platen Glass after printing is completed.
Note
Press the
Stop
button to cancel printing.
You can exit the Easy photo reprint menu and display the
HOME
screen, if you press the
HOME
button after printing is completed. Confirm the message and select Yes to delete the
Page 38 of 988 pagesReprinting Printed Photos