


E
26
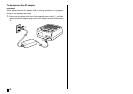
Part 3 - Label Making Overview
Now that everything is set up, let’s try creating a label. This section takes
you through the basics of label making, from layout, to printing, and saving
the label in a file.
Label Creation Basics
Example
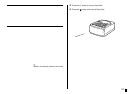
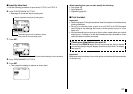
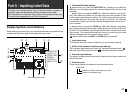
Start the label creation session.
1. Press [ to turn on the printer.
• If you are turning the printer back on after using it previously, the initial
screen may also include a LAST DATA item. See “Power On Recall” on
page 19 for more information about this item.
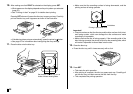
2. Use x and z to select NEW, and then press SET.
• This displays a menu of print patterns.
• The print pattern controls whether printing is performed in both the upper
and lower labels, or in the upper or lower label only.
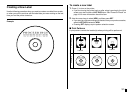
■ Select the print pattern.
3. For this example, use c and v to select , and then press SET.
• See page 31 for details about print patterns.
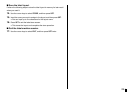
■ Select the format.
4. For this example, use c and v to select AUTO2.
• See page 32 for details about formats.
• If you select AUTO1 or AUTO2, the printer will automatically select the
proper font size in accordance with the number of characters you input.
See “Inputting Text into an AUTO Format” on page 40 for more
information.
5. Press SET.