


17
E
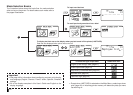
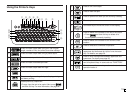
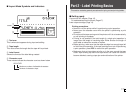
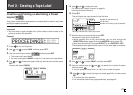
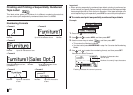
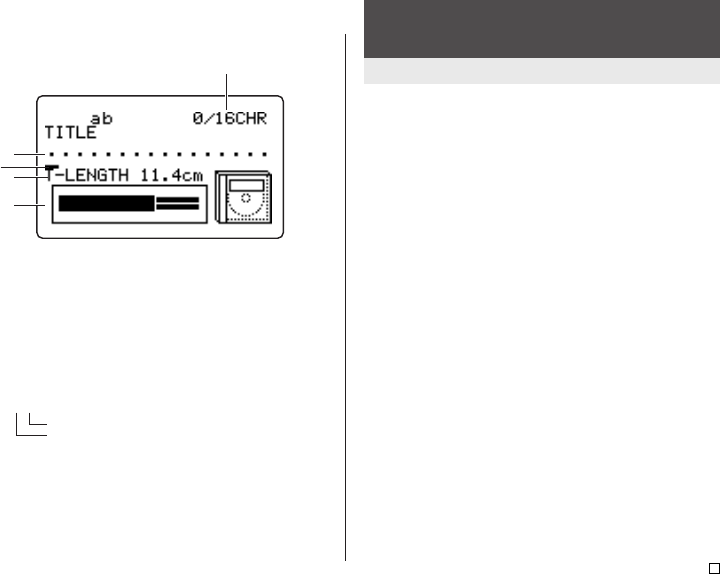
■ Layout Mode Symbols and Indicators
1
cursor
1 Text area
This is where text appears during input and editing.
2 Tape length
This value shows the length that the tape will be printed.
3 Label format
Shows the format of the label being created.
4 Character count
These values indicate the character count as shown below
13/24 CHR
Maximum number of allowable characters
Number of characters input
4
2
3
Part 2 - Label Printing Basics
This section contains general procedures for laying out and printing labels.
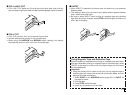
■ Getting ready
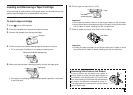
Connect the AC adaptor (Page 10).
Or load batteries into the printer (Page 47).
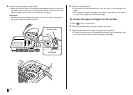
Load a tape cartridge (Page 13).
Printing precautions
• Never turn off the printer while it is performing a print operation.
• Never open the cassette cover while the printer is performing a print
operation.
• Do not touch the tape coming out of the printer until it is cut automatically
or until printing is complete.
• Printing is not possible if the total length of a single print operation is
longer than the length of remaining tape. Either shorten the length of
each label or reduce the number of copies.
• Before printing, make sure that the tape cartridge has enough tape left
to finish the print operation. If the tape cartridge runs out of tape during
a print operation, press ESC to cancel the print operation.
• Make sure that cut tape does not pile up in the area around the tape
outlet. Tape building up around the tape outlet can cause the outlet to
become blocked, causing a tape jam and malfunction of the printer.