


25
E
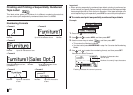
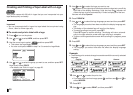
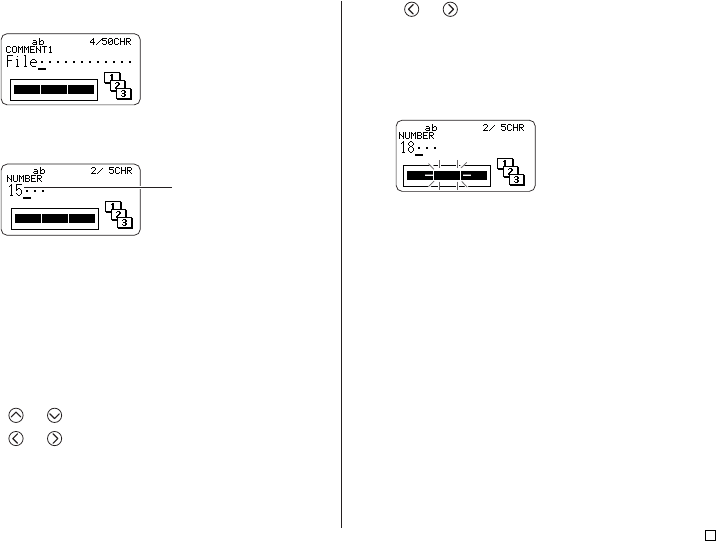
5. Input the text for the COMMENT 1 box, and then press SET.
Here we will input “File”.
6. Change the starting number, if you want, and then press SET.
Here we want to number the labels from 15 through 17, so we would input
15 here.
• If you make a mistake and input the wrong number, delete the current
number and re-input. You can specify a number up to five digits long.
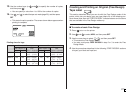
7. Input the text for the COMMENT 2 box, and then press SET.
• Here we will input “Receipt”.
• While inputting text in the Numbering Mode, you can also change the
DIRECTION setting (page 29), MIRROR setting (page 29), and the
MARGINS setting (page 29). Note, however, that NONE cannot be
selected for the MARGINS setting at this time.
8. Use the cursor keys to select the number style you want, and then press
SET.
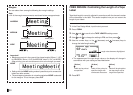
• Here we will select No.1.
9. Use and to select PRINT, and then press SET.
10. Use and to specify the number of labels to be printed, checking
the start and end numbers to make sure that they are correct, and then
press SET.
• Here we want to print one set of labels numbered 15, 16, and 17, so we
will specify 3 for the number of labels to be printed.
• For the number of labels to be printed, you can specify a value in the
range of 1 to 100.
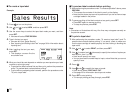
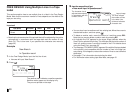
Shows the starting number.
11. Use and to select the tape cut mode (page 20), and then press
SET.
• Pressing SET starts the print operation and causes a screen like the
one shown below to appear.
• If printing reaches the number 99999, the next number printed is 00000.
• If the message “LENGTH OF PRINT IS TOO LONG! ” “ TOO SHORT TO
CUT!” appears, see pages 53, 56 for information about what you need
to do.
The number that appears here depends on the label you created.
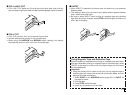
Important!
• Make sure that cut tape does not pile up in the area around the tape outlet.
Tape building up around the tape outlet can cause the outlet to become
blocked, causing a tape jam and malfunction of the printer.
• For information about saving tape label data, see page 45.