


E
34
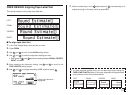
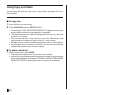
FREE DESIGN: Using Frames
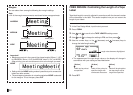
The printer comes with a selection of built-in frames that you can use in your
tape labels. See page 58 for a list of frames that are available.
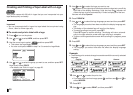
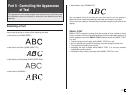
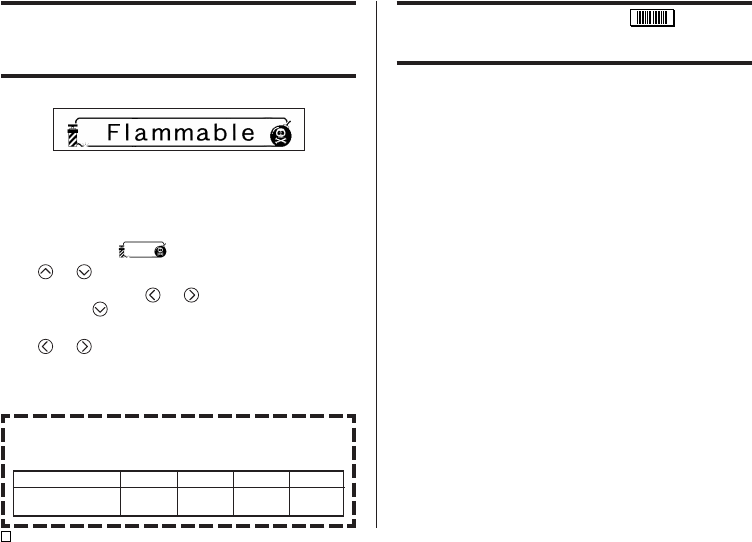
Example
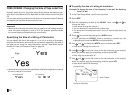
■ To add a frame to a tape label
1. In the Free Design Mode, input the text you want.
2. Press FRAME.
3. Use the cursor keys to select the frame you want, and then press SET.
• Here we will select
.
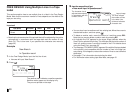
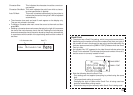
4. Use and to select PRINT, and then press SET.
5. Use the number of keys (or and ) to specify the number of copies,
and then press
.
• You can specify a value from 1 to 100 for the number of copies.
6. Use and to select the tape cut mode (page 20), and then press
SET.
• This starts the print operation.
• All EFFECT specifications are disabled when printing with a frame.
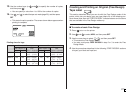
Frames and the Number of Lines
The number of lines that can be printed with a frame depends on the
width of the tape.
Tape Width
Maximum Number of
Lines with Frame
24/18mm
4
12mm
3
9mm
2
6mm
1
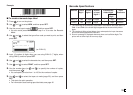
Creating a Barcode Tape Label
Your printer lets you create and print tape labels with barcodes.
Supported Barcode Types
■ EAN
EAN-13
EAN-8
Important!
• Use a 12mm or wider tape cartridge when printing barcodes.
• Be sure to check each barcode for proper reading. Make the following
adjustments if you experience difficulties reading the barcodes produced by
this printer.
Lighten the print density (page 46).
Increase the barcode size (step 6 of “To create a barcode tape label” on
page 35).
Select FULL CUT or UNCUT for the tape cut mode (page 20).
• The following tapes work best for barcode printing. Letters in parentheses
indicate tape model names.
White tape, black printing (WE)
White tape, blue printing (WEB)
Yellow tape, black printing (YW)