


23
E
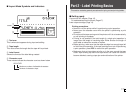
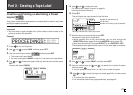
Part 3 - Creating a Tape Label
5. Use and to select a format.
For details, see “Layout Formats” on page 61.
Here we will select Format 3.
6. Press SET.
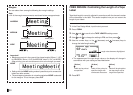
This will display the input screen for the first item.
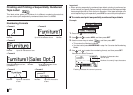
7. Enter the text you want and then press SET.
Here we will input text for three items.
• While inputting text in the Layout Mode, you can also change the
DIRECTION setting (page 29) and the MIRROR setting (page 29).
• With some formats, you can press EFFECT to turn BOX ON or OFF.
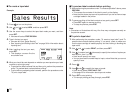
The following screen appears after input of all the label data is complete.
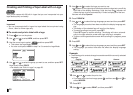
8. Use and to select PRINT, and then press SET.
9. Use the number keys (or and ) to specify the number of copies,
and then press
.
• You can specify a value from 1 to 100 for the number of copies.
10. Use and to select the tape cut mode (page 20), and then press
SET.
• This starts the print operation.
• For information about saving tape label data, see page 45.
Creating and Printing a Label Using a Preset
Layout
Your printer comes with a large selection of preset label formats for easy label
printing for specific purposes.
Important!
• You must have a tape cartridge that is 9mm wide or wider loaded in the
printer to perform this operation.
Example
1. Press to turn on the printer.
2. Use and to select NEW, and then press SET.
3. Use the cursor keys to select , and then press SET.
• This enters the Layout Mode.
• You also could press LAYOUT in step 2 or 3 to enter the Layout Mode.
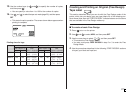
4. Use and to select the type of label you want to print and then press
SET.
Here we will select CD/DVD.
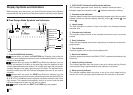
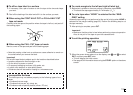
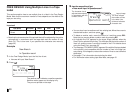
Flashing indicates the current input area.
Number of characters that
can be input
Number of currently input characters