


16
6
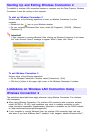
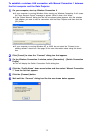
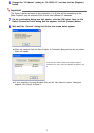
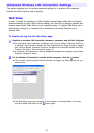
Change the “IP Address” setting to “192.168.50.12” and then click the [Register]
button.
Important!
The Data Projector and each of the computers (1 to 4) that will be connecting to the
Data Projector over the wireless LAN all must have different IP addresses.
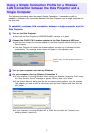
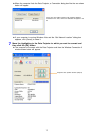
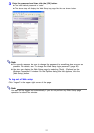
7
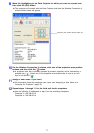
On the confirmation dialog box that appears, click the [OK] button. Next, on the
Switch Connection Profile dialog box that appears, click the [Connect] button.
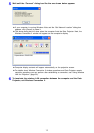
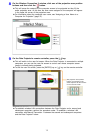
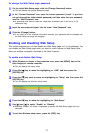
8
Wait until the “Connect” dialog box like the one shown below appears.
z When the computer finds the Data Projector, a Connection dialog box like the one shown
below will appear.
z If your computer is running Windows Vista and the “Set Network Location” dialog box
appears, click [Cancel] to close it.
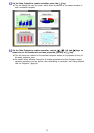
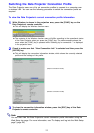
If there are other Data Projectors with wireless adapters
connected in the area, all that are detected will appear in the
list.