


3-7
Cisco Aironet 1200 Series Access Point Hardware Installation Guide
OL-8370-04
Chapter 3 Mounting Instructions
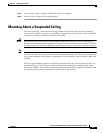
Mounting Above a Suspended Ceiling
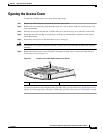
Follow these steps to mount the access point above a suspended ceiling.
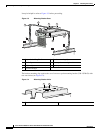
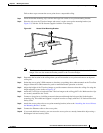
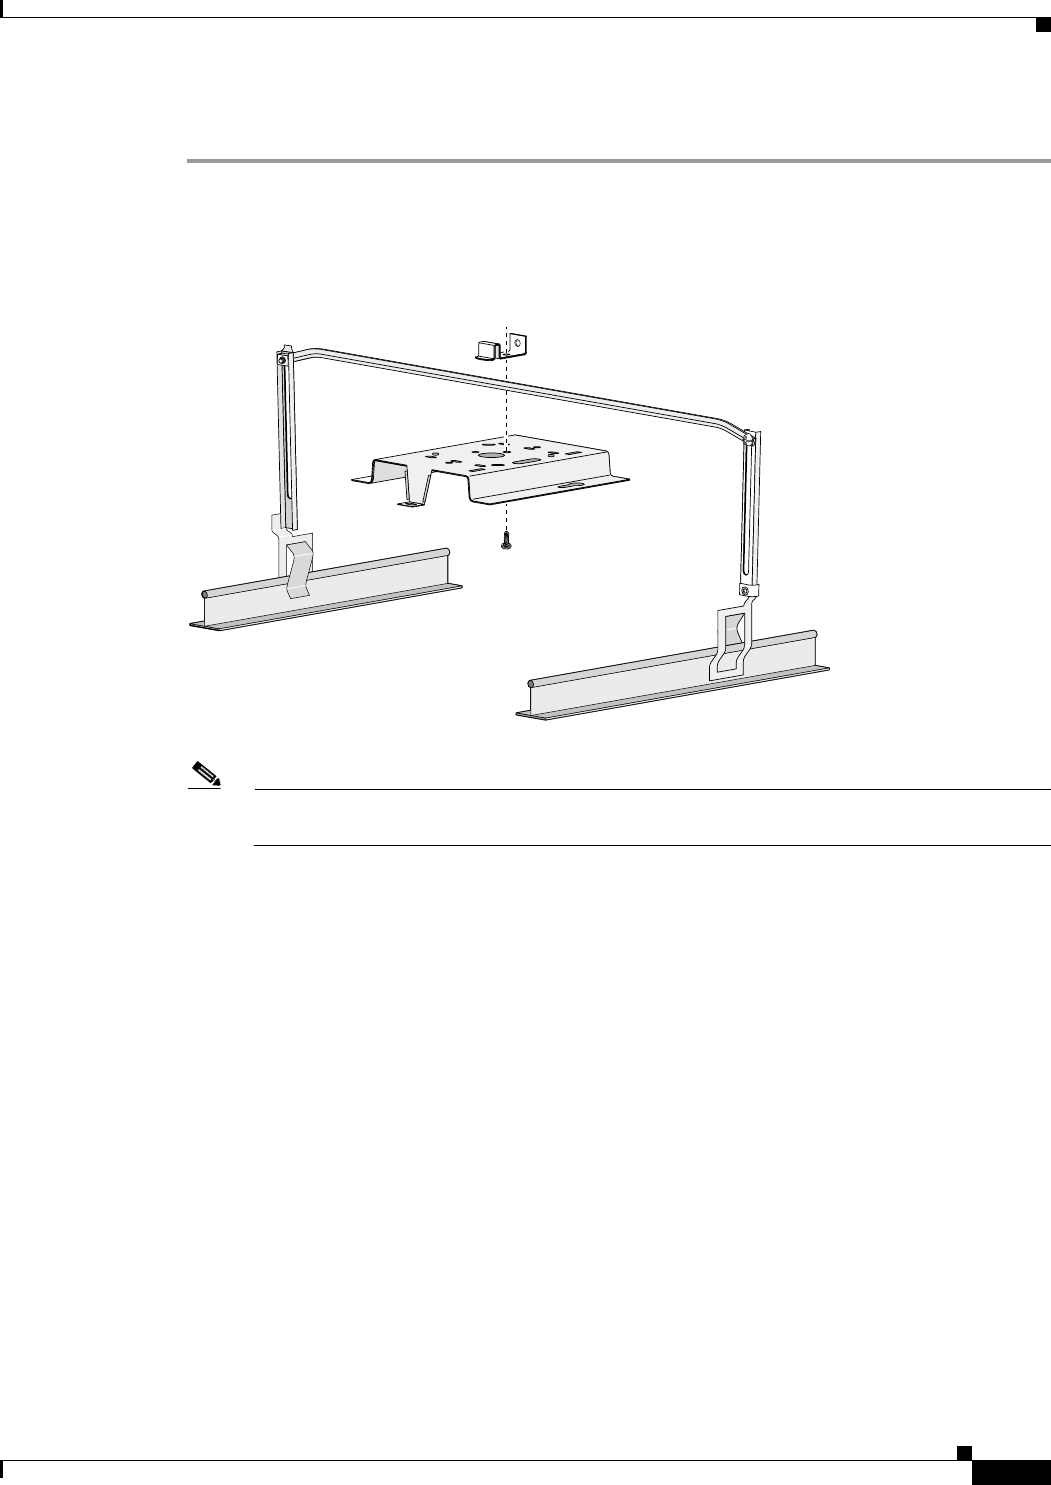
Step 1 Insert the bracket mounting clip’s tab into the large hole on the access point mounting bracket.
Step 2 Place the clip over the T-bar box hanger and secure it to the access point mounting bracket (see
Figure 3-5) with the 1/4-20 fastener (supplied with the T-bar hanger).
Figure 3-5 Access Point Mounting Bracket
Note The illustration shows the access point mounting bracket mounted perpendicular to the T-bar box
hanger. You can also mount the bracket parallel to the T-bar box hanger.
Step 3 Determine the location in the ceiling where you will mount the access point and remove an adjacent
ceiling tile.
Step 4 Orient the access point 2-GHz antennas so that they are pointing down when mounted on the T-bar Box
hanger. Orient the 5-GHz antenna for patch or omnidirectional operation as desired.
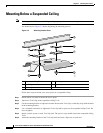
Step 5 Adjust the height of the T-bar box hanger to provide antenna clearance above the ceiling tile using the
height adjusting screws (refer to Figure 3-3).
Step 6 Attach the T-rail clips on each end of the T-bar box hanger to the ceiling grid T-rails. Make sure the clips
are securely attached to the T-rails.
Step 7 Connect a drop wire to a building structural element and through the hole provided in the bracket
mounting clip. This additional support is required in order to comply with the U.S. National Electrical
Safety Code.
Step 8 Attach the access point to the access point mounting bracket (refer to the “Attaching the Access Point to
the Mounting Bracket” section.
Step 9 Connect the Ethernet cables to the access point.
Step 10 If you need additional security, you can secure the access point to a nearby immovable object using a
Kensington lock and security cable.
95739