


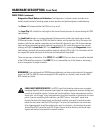
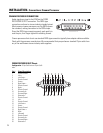

21
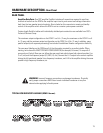
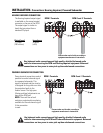
1- IEC-style AC power cord (included with the DCM)
2- QSC DataPort cable for every amplifier (8, 11, or 15 cables depending upon model)
3- Cinema Processor cable (DB25 male-male)
4- RS-232 cable (DB9 male-female, used only during setup with the DCM Manager software)
5- Surround EX Decoder cable
6- Shielded audio cable for Hearing Impaired and Powered Subwoofer outputs (if used)
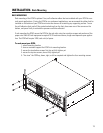
INSTALLATION- Connections: General Information and AC Mains
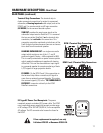
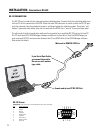
CONNECTIONS
Making the required connections to the DCM is simple. Just make sure that you have all of the correct
cables. “Mass-termination” connectors are used wherever possible. This reduces installation time from
hours to minutes and makes any required connection changes fast, easy, and reliable.
REQUIRED CABLES (typical system)
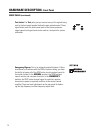
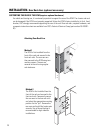
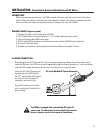
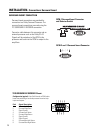
AC MAINS CONNECTION
Locate the IEC-style AC power cord
supplied with your DCM. Identify
the “IEC” end (molded plastic block),
line it up with the rear panel IEC
receptacle, and insert it fully.
Plug the AC plug end of the cable
into a functioning AC outlet of the
proper voltage.
The DCM is equipped with a detachable IEC-style AC
power cord. To reduce the risk of accidental disconnect,
secure all power cords in the course of installation.
Before plugging your DCM into the AC mains, verify proper operating voltage. The serial number sticker
located on the rear of the DCM has the rated operating voltage information printed on it. Locate the sticker,
note the rated voltage, and ensure the AC circuit you intend to use is properly rated.
IEC-style Molded AC Power Connector-