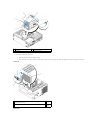
5. Remove the media card reader from its packaging.
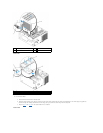
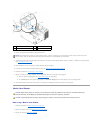
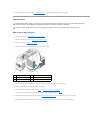
6. For the Vostro 220s, install two screws on each side of the media card reader.
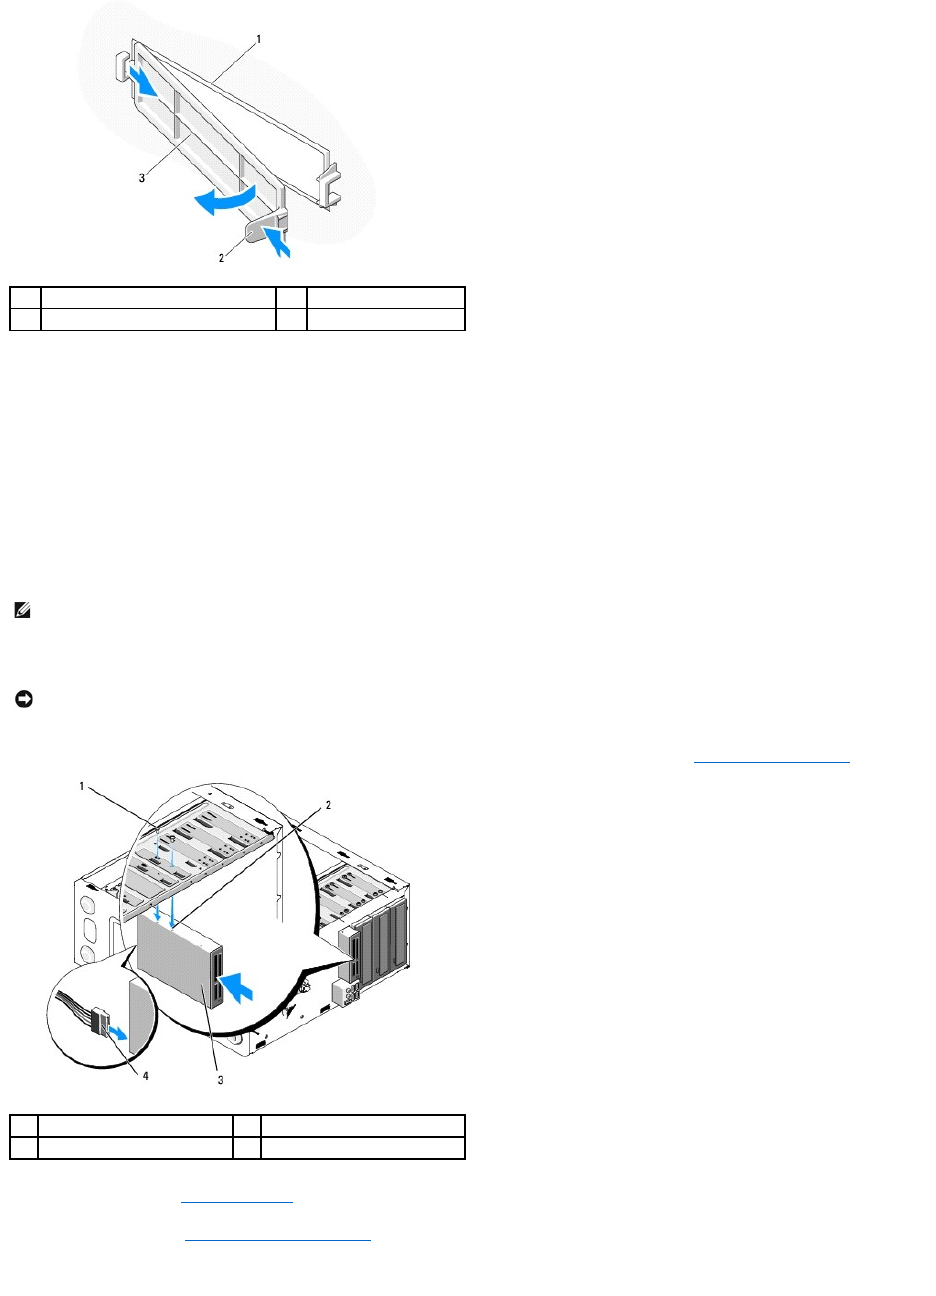
7. Gently slide the device into the bay from the front of the computer.
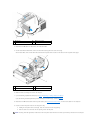
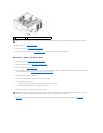
8. For the Vostro 420 and Vostro 220:
a. Align the screw holes in the device with the screw hole and slot in the drive cage.
b. Replace and tighten the two screws to secure the device in the drive cage.
9. For the Vostro 220s, push the release latch down to secure the optical drive and the 3.5-inch device in their respective drive cages.
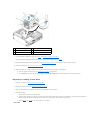
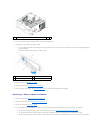
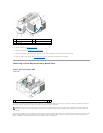
10. Connect the USB interface cable to the back of the device.
11. Ensure that the other end of the USB interface cable is connected to a USB connector on the system board (see System Board Components).
12. Replace the bezel (see Replacing the Bezel).
13. Follow the procedure in After Working on Your Computer.
14. See the documentation that came with the drive for instructions on installing any software required for drive operation.
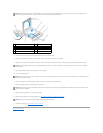
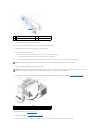
1
inside of bezel
2
release latch
3
cover for empty bay
NOTE: Install the media card reader into the drive bay before you connect the USB interface cable to the back of the device.
NOTICE: The connectors are "keyed" for correct insertion; that is, a notch or a missing pin on one connector fits with a tab or a filled-in hole on the
other connector. Align the cable connectors correctly before inserting them to avoid damage to the connectors.
1
screws (2)
2
screw holes (2)
3
media card reader
4
USB interface cable


