Back to Contents Page
System Board
Dell™Vostro™420/220/220sServiceManual
Remove the System Board
Replacing a System Board
Remove the System Board
1. Follow the procedures in Before Working on Your Computer.
2. Remove the computer cover (see Removing the Computer Cover).
3. For the Vostro 220s:
a. Remove the chassis support bracket (see Removing the Chassis Support Bracket).
b. Slide the optical drive forward far enough to gain access to the PWR1 connector on the system board.
4. Remove all expansion cards (see Removing a PCI or PCI Express Card). Store them temporarily in separate antistatic packaging to prevent damage from
discharge of static electricity.
5. Disconnect all the CD/DVD/hard drive data cables from the system board.
6. Disconnect all front panel cables from the system board.
7. Disconnect the DC power cables from the system board.
8. If the system board is being replaced with another system board:
a. Remove the processor heat sink/fan assembly (see Removing the Processor Heat Sink/Fan Assembly).
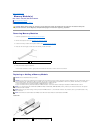
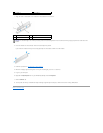
b. Remove the memory modules from the system board (see Replacing or Adding a Memory Module) and place them individually into antistatic
packaging.
c. Remove the processor from the system board (see Removing the Processor) and place it into antistatic packaging.
9. Disconnect the chassis fan cable from the system board.
10. Disconnect any additional cables from the system board.
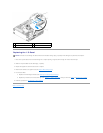
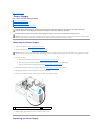
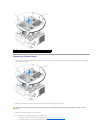
11. Remove the screws that secure the system board to the computer chassis.
12. Carefully lift the system board out of the computer chassis and place it into antistatic packaging.
CAUTION: Before working inside your computer, read the safety information that shipped with your computer. For additional safety best
practices information, see the Regulatory Compliance Homepage at www.dell.com/regulatory_compliance.
CAUTION: To guard against likelihood of electric shock, laceration by moving fan blades, or other unexpected injuries, always unplug your
computer from the electrical outlet before removing the cover.
NOTICE: The procedure for removing and replacing the system board is identical (except where noted) for the Vostro 420, Vostro 220, and Vostro 220s
computers; the illustration provided is for example only and may not represent your particular computer precisely.
CAUTION: The system board is extremely fragile. Exercise great care when handling the system board.


