48 Adding Parts
www.dell.com | support.dell.com
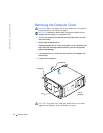
Removing Cards
CAUTION: Before you begin any of the procedures in this section,
follow the safety instructions on page 7.
NOTICE: To disconnect a network cable, first unplug the cable from your
computer and then unplug it from the network jack.
1
Turn off the computer and devices, and disconnect them from their
electrical outlets.
2 Briefly press the power button.
Pressing the power button when the computer is not connected to an
electrical outlet discharges residual electricity and can help prevent
system board damage.
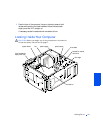
3 Remove the computer cover (see page 42).
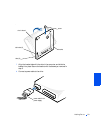
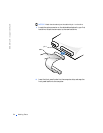
4 Disconnect any cables connected to the card.
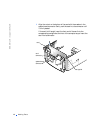
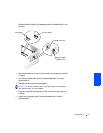
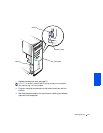
5 Remove the screw from the card bracket.
6 Grasp the card by its top corners, and lift it from the system board.
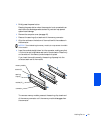
7 If you are removing the card permanently, reinstall a filler bracket.
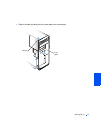
8 Replace the computer cover (see page 71).
NOTICE: To connect a network cable, first plug the cable in to the network
jack and then plug it in to the computer.
9
Plug your computer and devices into their electrical outlets, and turn
them on.
Adding Memory
HINT: Memory
purchased from Dell is
covered under your
computer warranty.
CAUTION: Before you begin any of the procedures in this section,
follow the safety instructions on page 7.
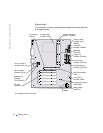
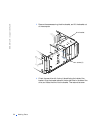
You can increase your computer memory by installing memory modules on
the system board. See page 75 for information on the type of memory
supported by your computer.
NOTICE: To disconnect a network cable, first unplug the cable from your
computer and then unplug it from the network jack.
1
Turn off the computer and devices, and disconnect them from their
electrical outlets.


