


Adding and Replacing Parts 159
3
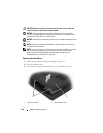
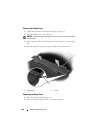
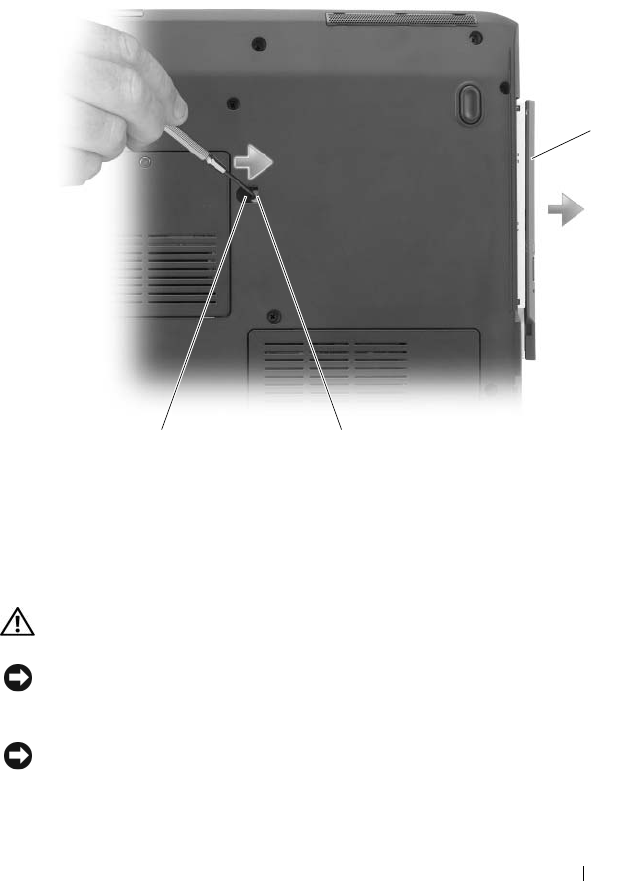
Remove the locking screw from the optical drive.
4
Using a plastic scribe, push the notch to release the optical drive from the
bay.
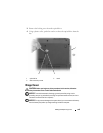
Hinge Cover
CAUTION: Before you begin any of the procedures in this section, follow the
safety instructions in the Product Information Guide.
NOTICE: To avoid electrostatic discharge, ground yourself by using a wrist
grounding strap or by periodically touching an unpainted metal surface (such as a
connector on the back of the computer).
NOTICE: To help prevent damage to the system board, you must remove the battery
from the battery bay before you begin working inside the computer.
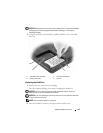
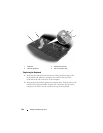
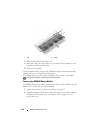
1 optical drive 2 notch
3 device security screw
3
1
2