


Configuring Port and System Security 571
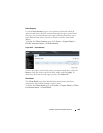
Configuring Captive Portal Groups and Users
Beginning in Privileged EXEC mode, use the following commands to create a
Captive Portal group. You can use the default group, or you can create a new
group.
block (Optional) Block all traffic for a Captive Portal
configuration. If the Captive Portal is blocked, users
cannot gain access to the network through the Captive
Portal. Use this function to temporarily protect the
network during unexpected events, such as denial of
service attacks.
CTRL + Z Exit to Privileged EXEC mode.
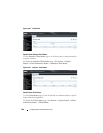
show captive-portal
configuration
cp-id
[status | interface]
View summary information about a Captive Portal
instance.
•
cp-id
— The Captive Portal instance (Range: 1–10).
•
status
— View additional information about the Captive
Portal instance.
• interface — View information about the interface(s)
associated with the specified Captive Portal.
show captive-portal
interface configuration
cp-id
status
View information about the interfaces associated with the
specified Captive Portal instance.
cp-id
— The Captive Portal instance (Range: 1–10).
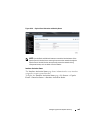
NOTE: To return the default Captive Portal instance to its default values, use the
clear command in the Captive Portal Instance mode. You must also use the no
interface
interface
command to remove any associated interfaces from the
instance.
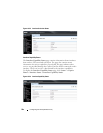
Command Purpose
configure Enter global configuration mode.
captive-portal Enter Captive Portal mode.
Command Purpose